Datum-network Help Document (for Admins)
- Overview
- Console Login
- User Initialization
- Overview of the Console
- Node Management (available only to admins)
- My Data
- My Credential
- Computing Tasks (available only to admins)
OverviewOverview
Datum-network is a distributed privacy computing network based on the underlying capabilities of privacy AI.
Datum-network’s console provides an interface through which data providers and computing power providers can manage raw data and computing resources.
Users can deploy their Datum-network node locally to connect to the network. In addition, data providers can manage their data in a more reliable local environment, while computing power providers can share their computing power to improve the network’s computing performance and earn profits.
Here is how Datum-network nodes are deployed: GitHub - datumtechs/datum-network-deploy at ansible_v0.4.0
For users’ convenience, Datum-network offers five data sets that they can publish and use. Download link:
Finance: http://testdownload.datumtechs.com/datum/dataset/Finance.zip
Media Advertisement: http://testdownload.datumtechs.com/datum/dataset/MediaAdvertising.zip
Medical & Health: http://testdownload.datumtechs.com/datum/dataset/Medicalhealth.zip
Public Service: http://testdownload.datumtechs.com/datum/dataset/Publicservice.zip
Transportation: http://testdownload.datumtechs.com/datum/dataset/Transportation.zip
Users can claim test tokens via the following address: PlatON
Console Login
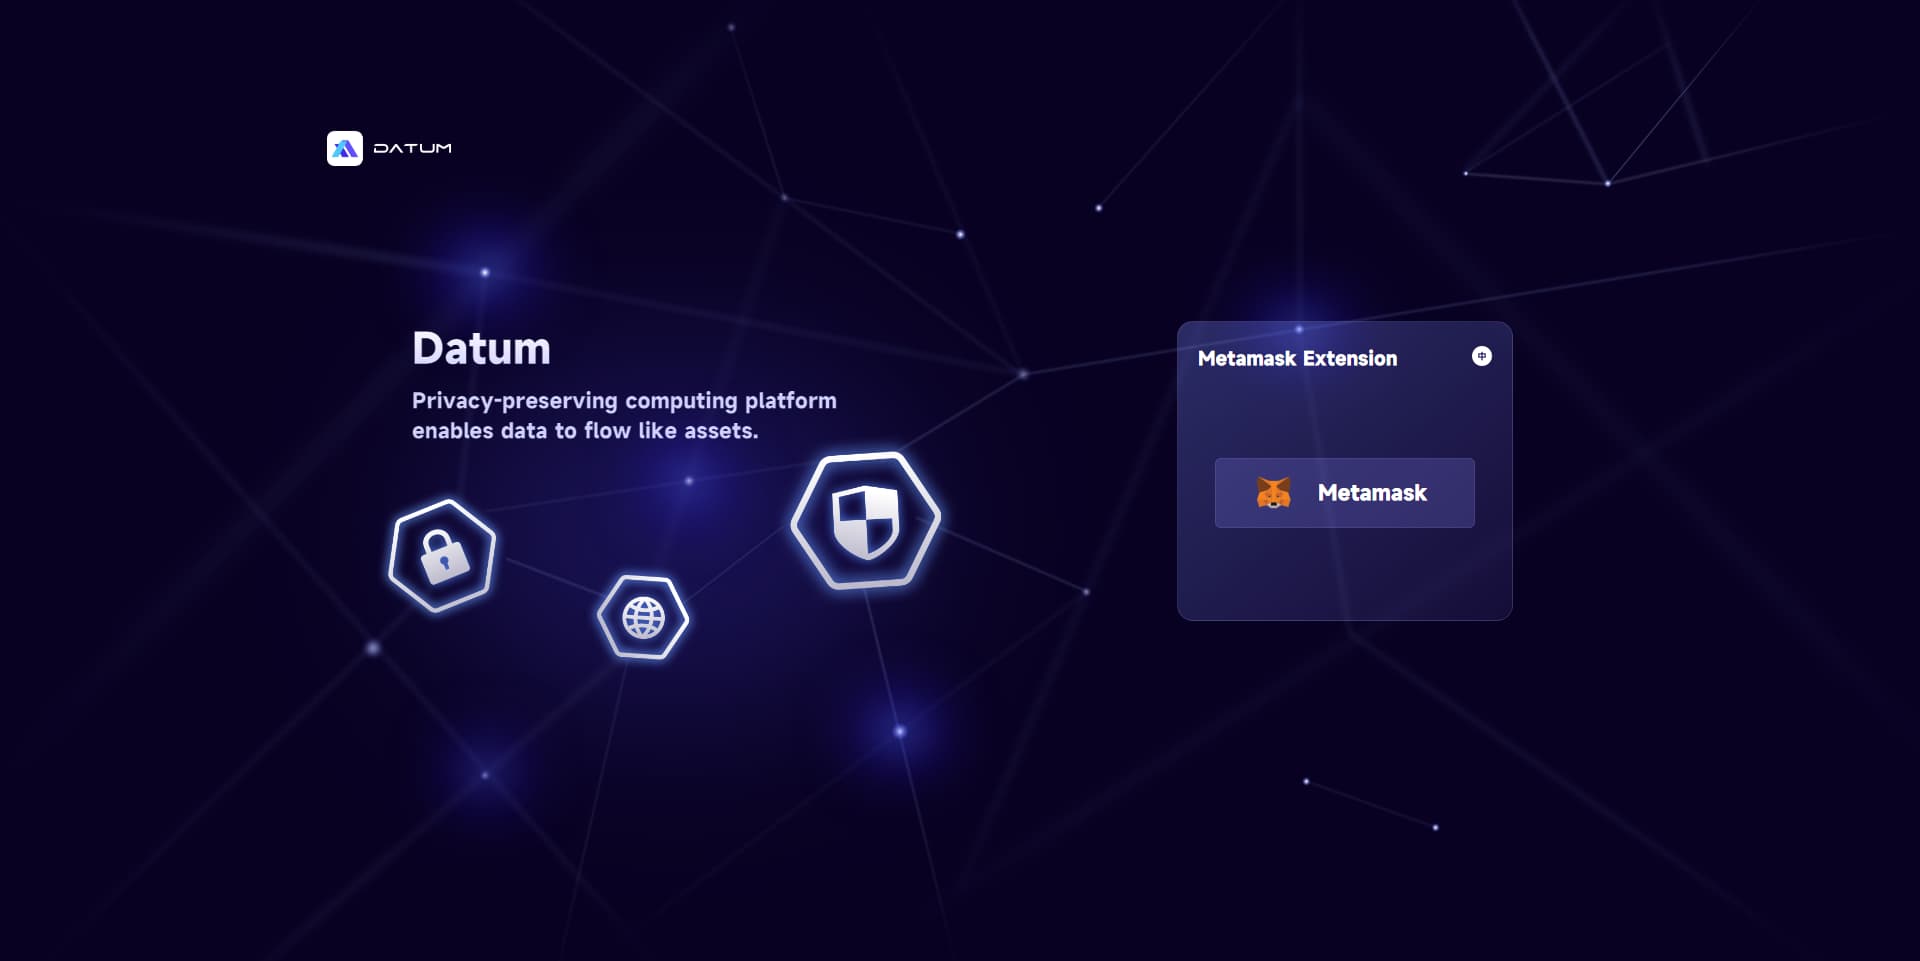
After completing the node deployment, you will need to log in to Datum-platform to go through the connection settings.
You can directly log in to the console through MetaMask, without additional registration.
-
Open the deployed console address in Chrome, and then enter the console homepage; click on [Metamask], and select [Switch Network] in the pop-up window to switch the network to the PlatON DevNet (development network).
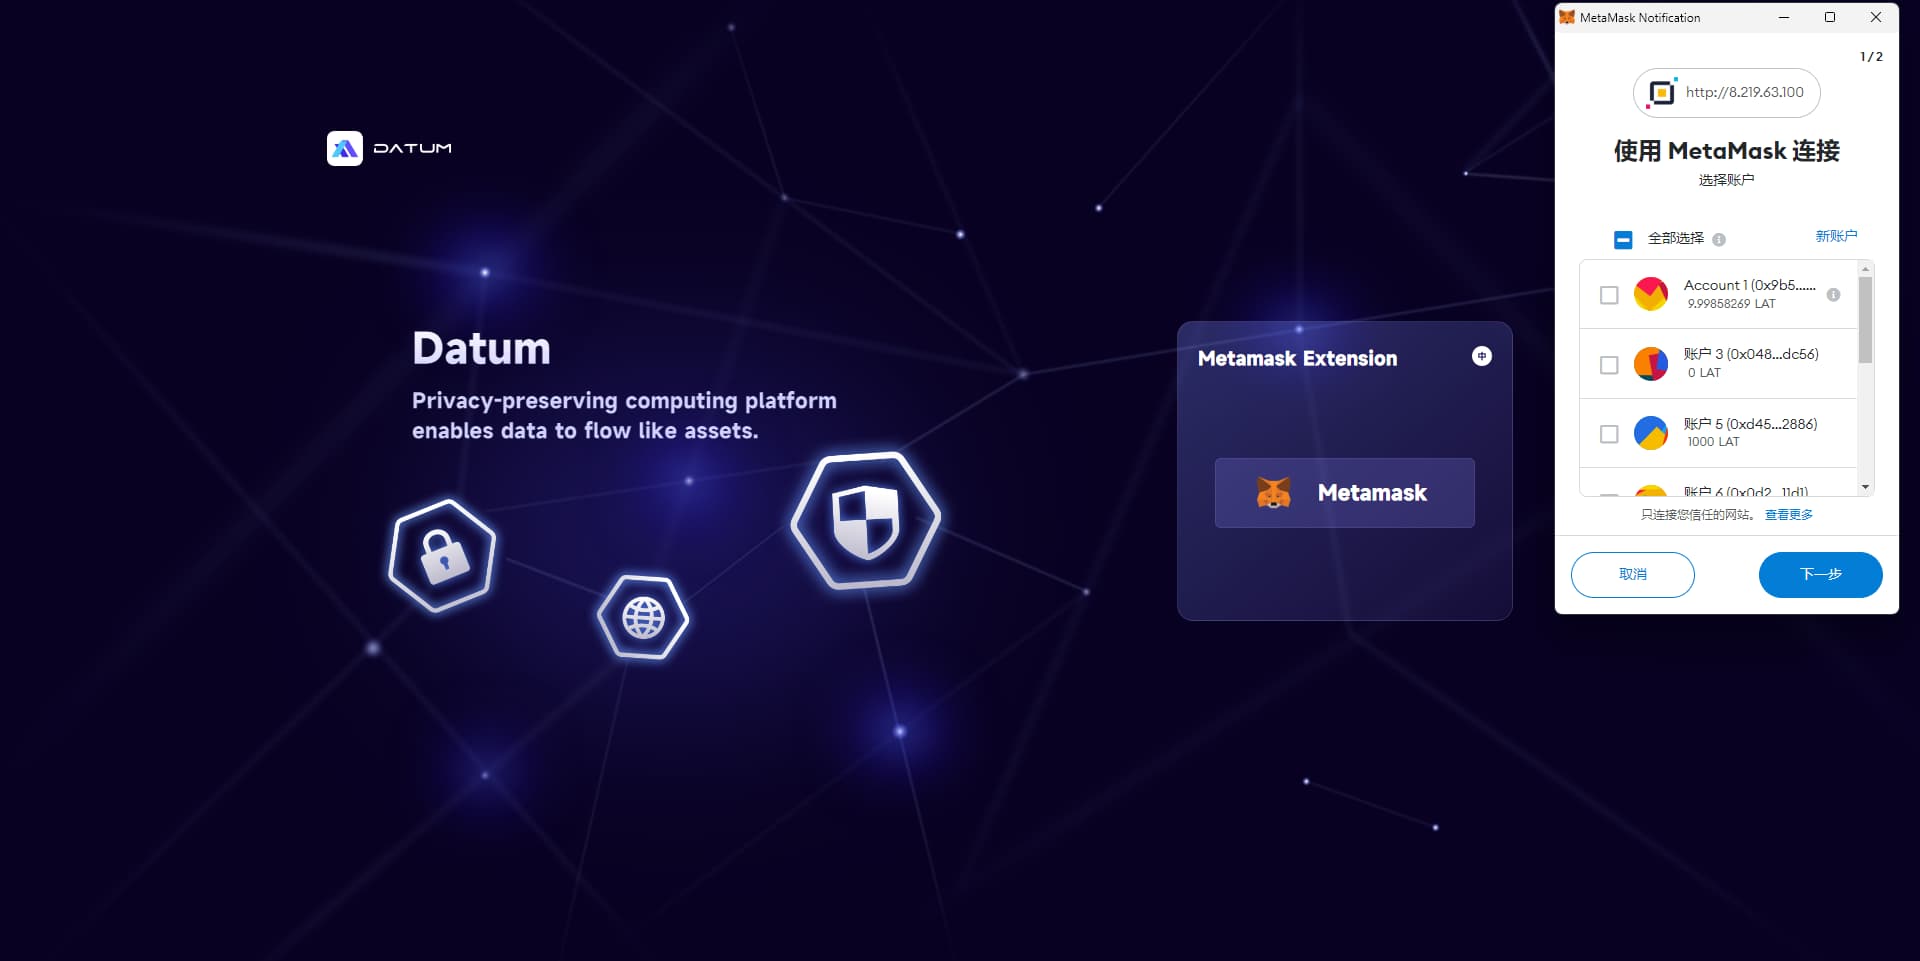
-
Once the network is switched to the PlatON DevNet, choose your account for the connection.
-
After the connection is confirmed, click on [Signature] and complete the authorization process to go to the console.

User Initialization
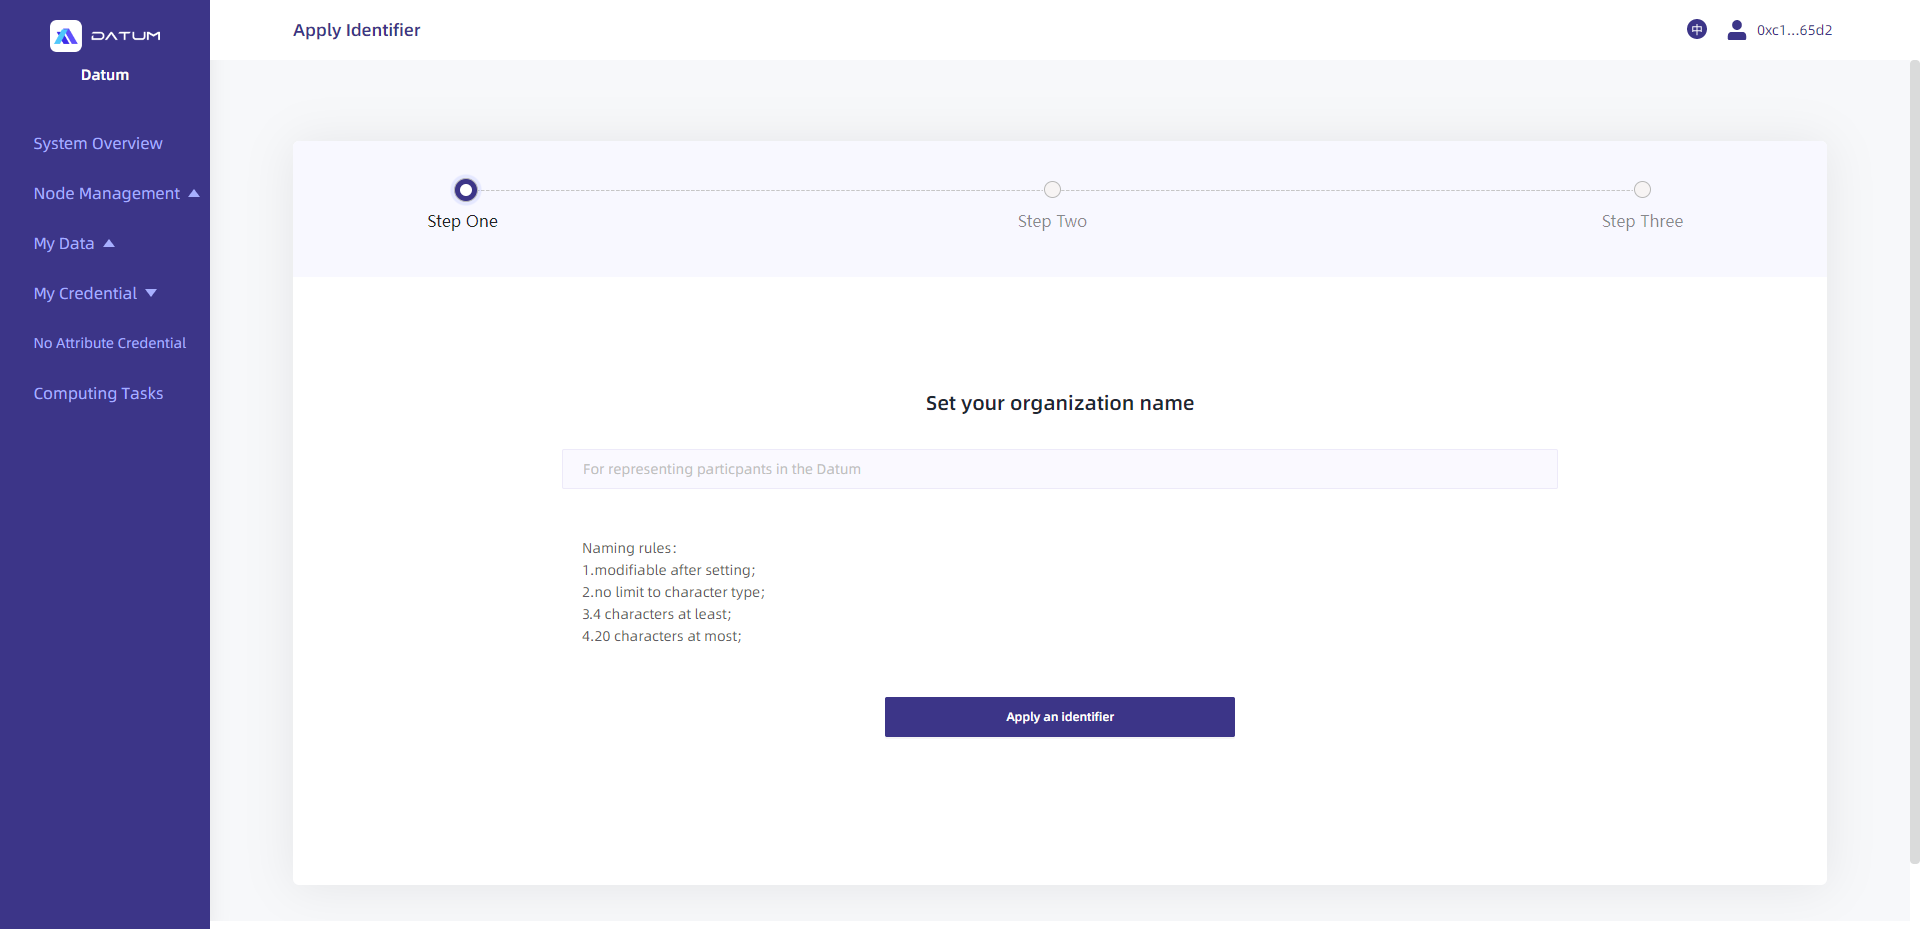
1. Apply for Identity
Once a node is deployed, the first user who logs in to the console will be able to initialize the node, and the user will become the administrator.
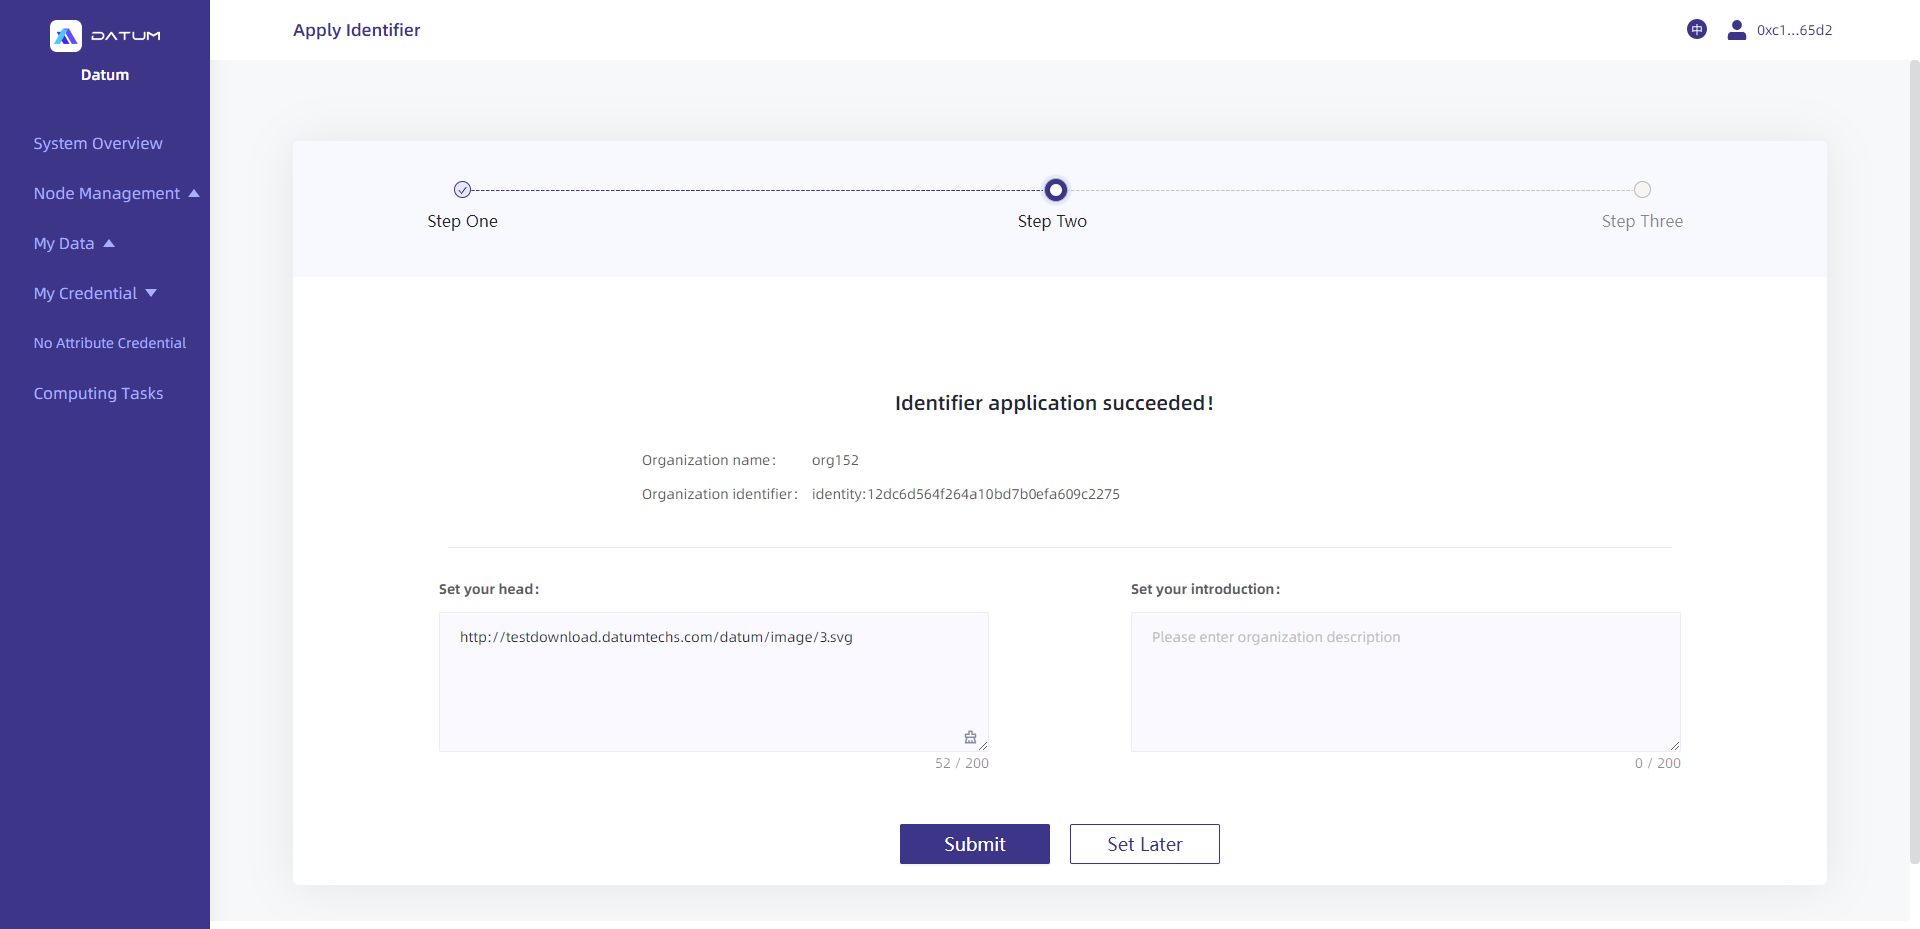
(1) Create the organization identity (to be displayed on the network), set the avatar of the organization, and fill in the organization profile.
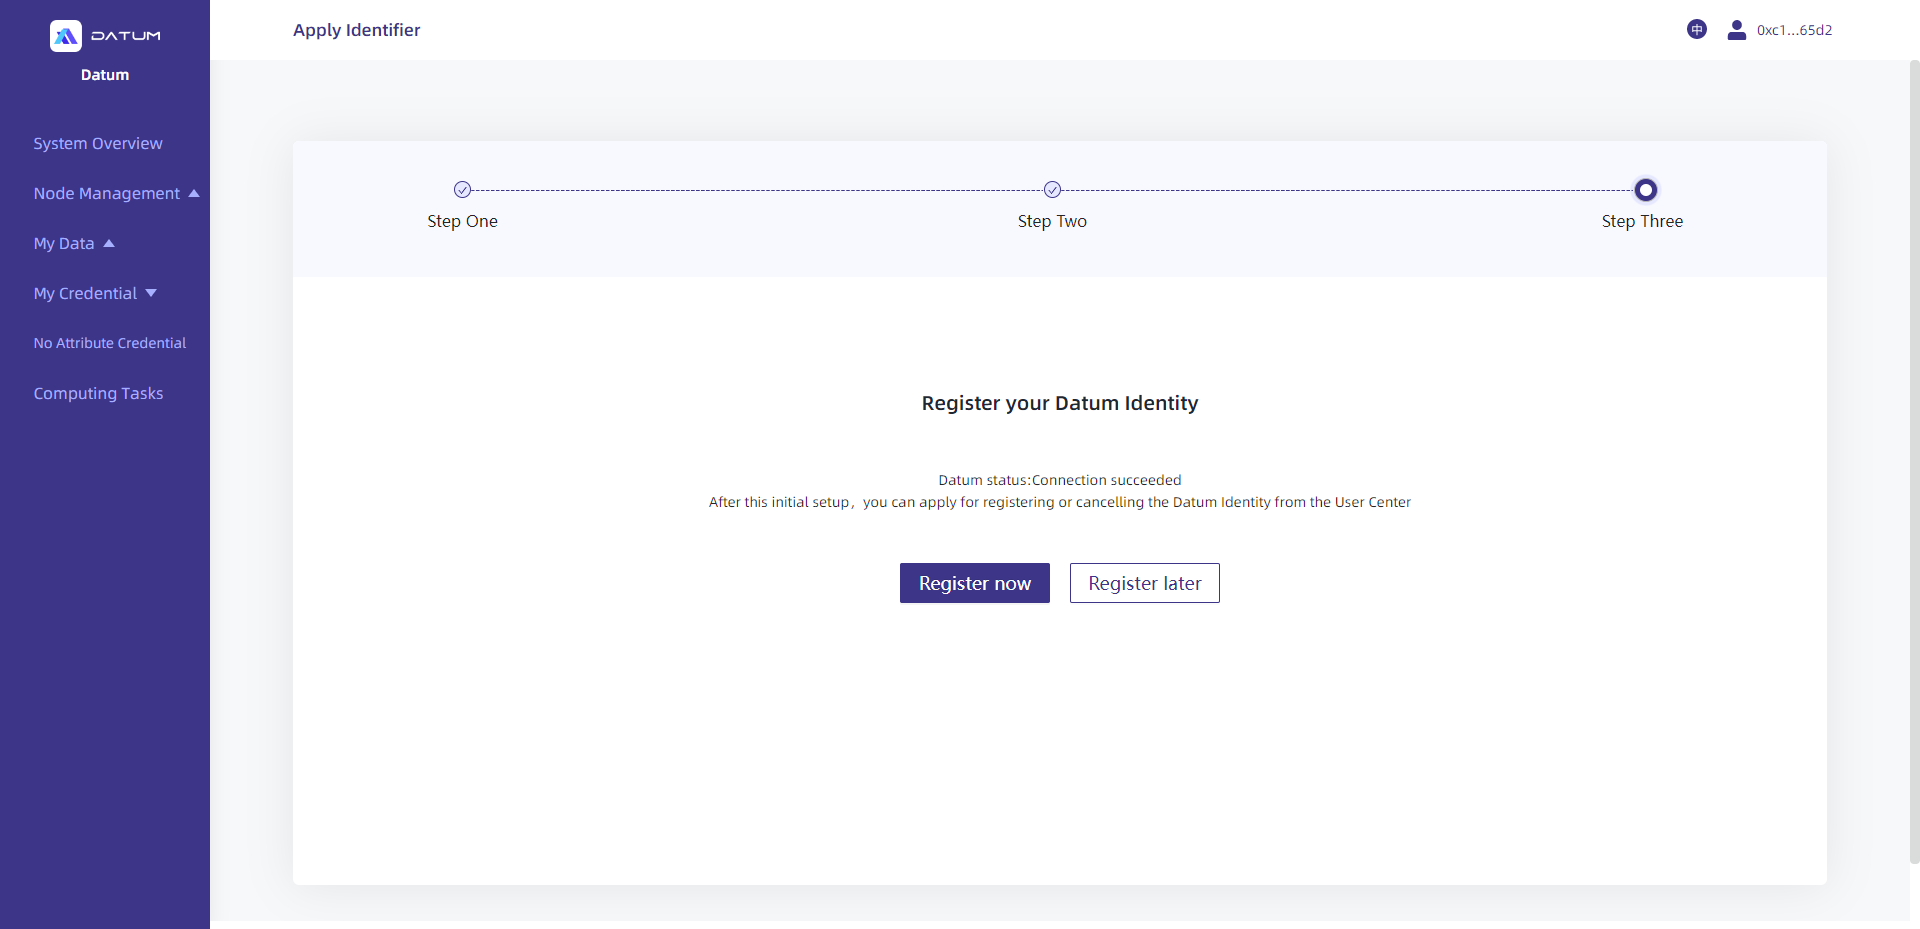
(2) Get registered to connect to the network, and then complete the initialization settings.
Upon successful initialization, the system will automatically generate a built-in wallet address, which will be used to pay service fees for the execution of computing tasks.
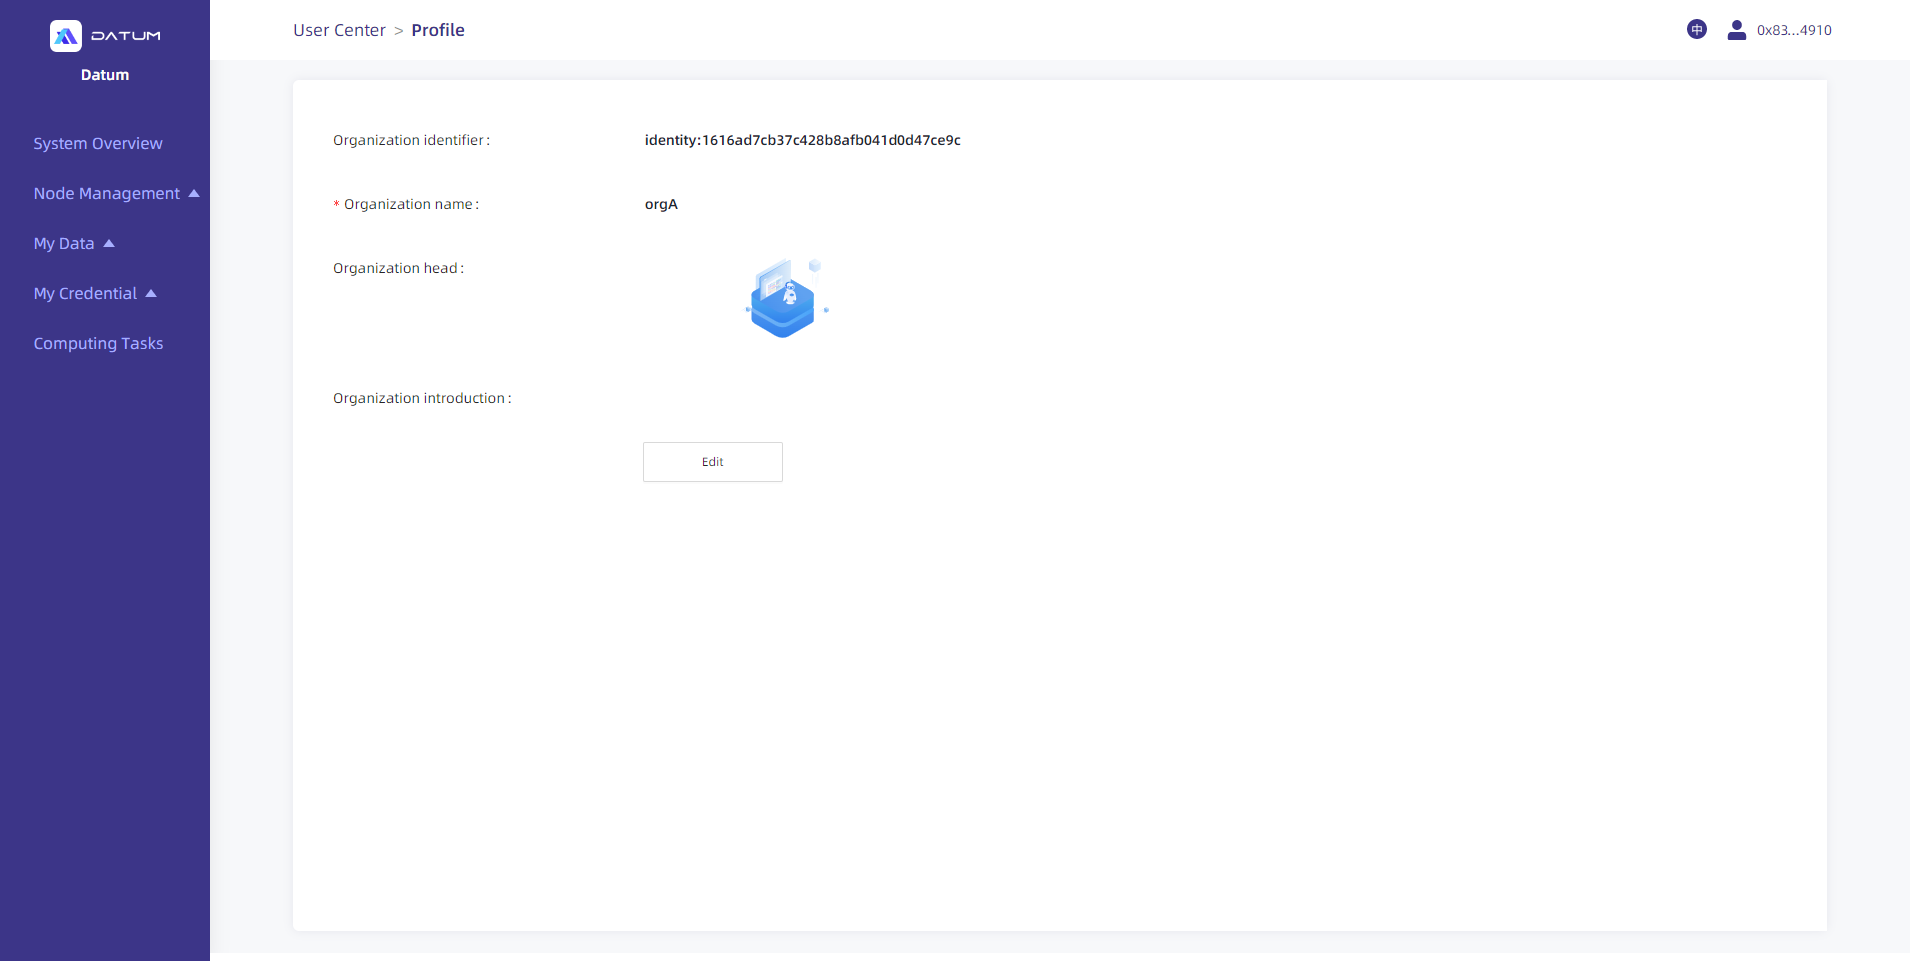
2. User Center (available only to admins)
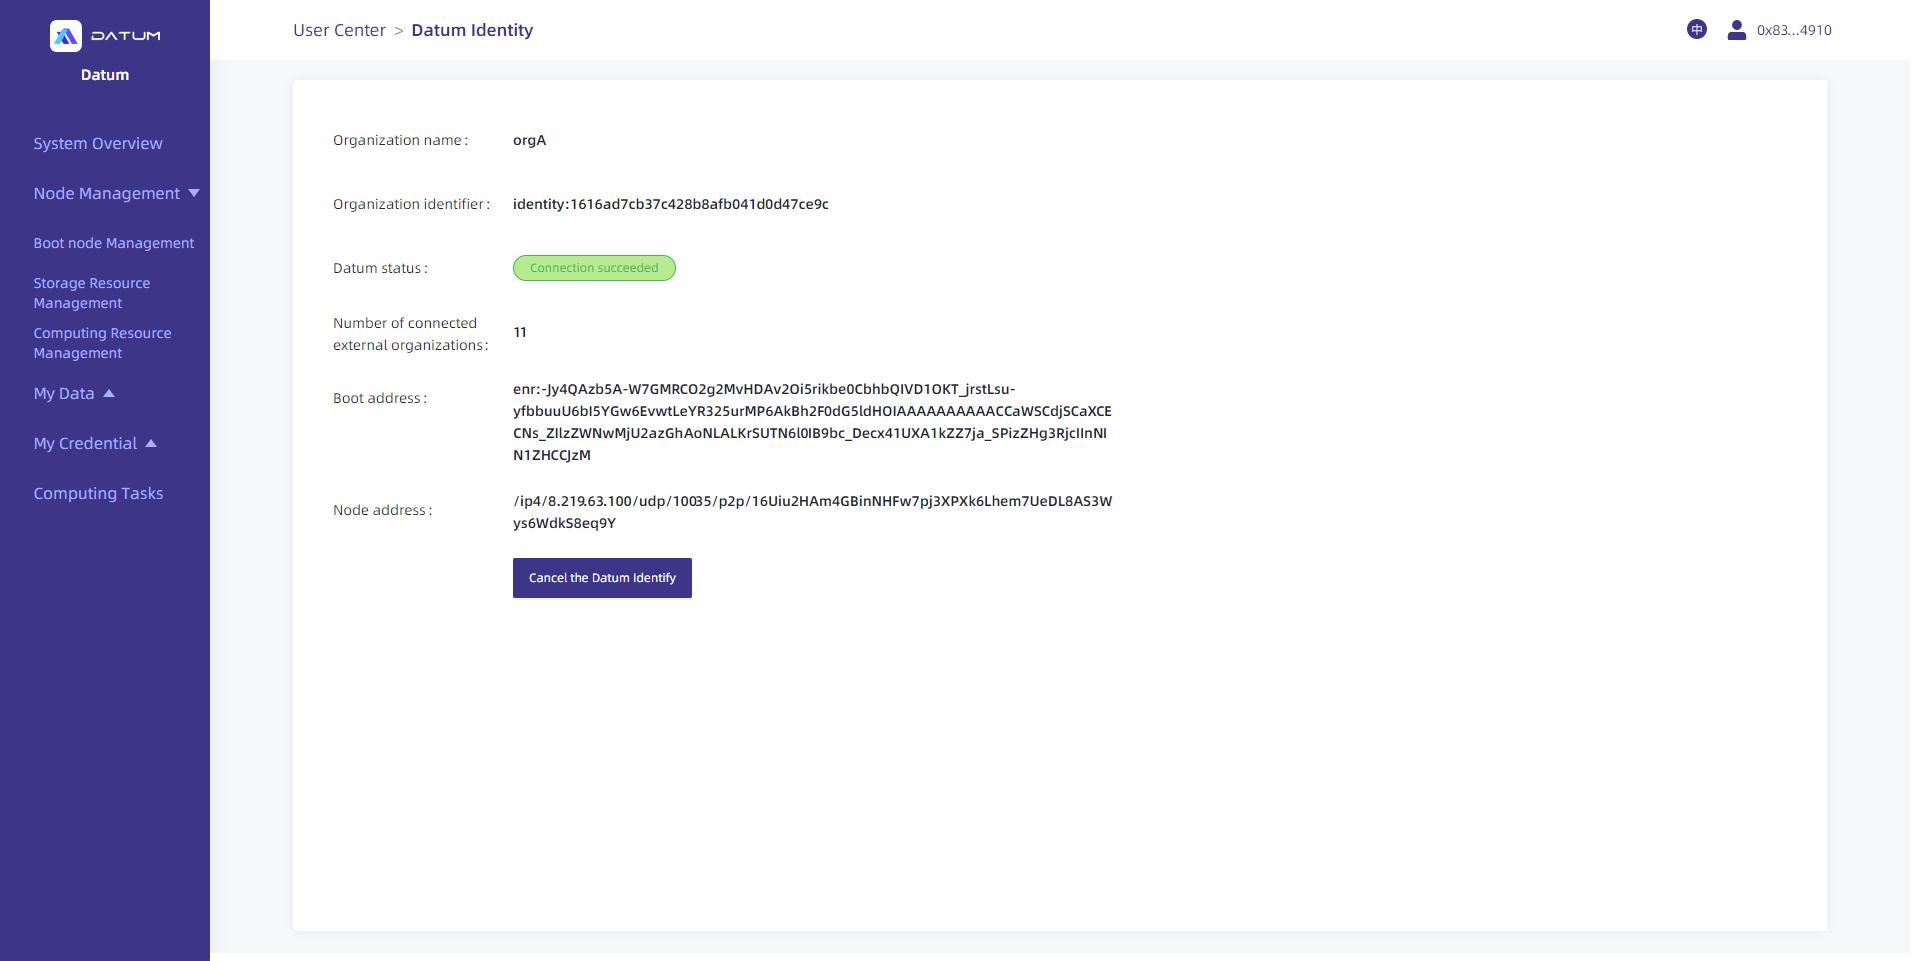
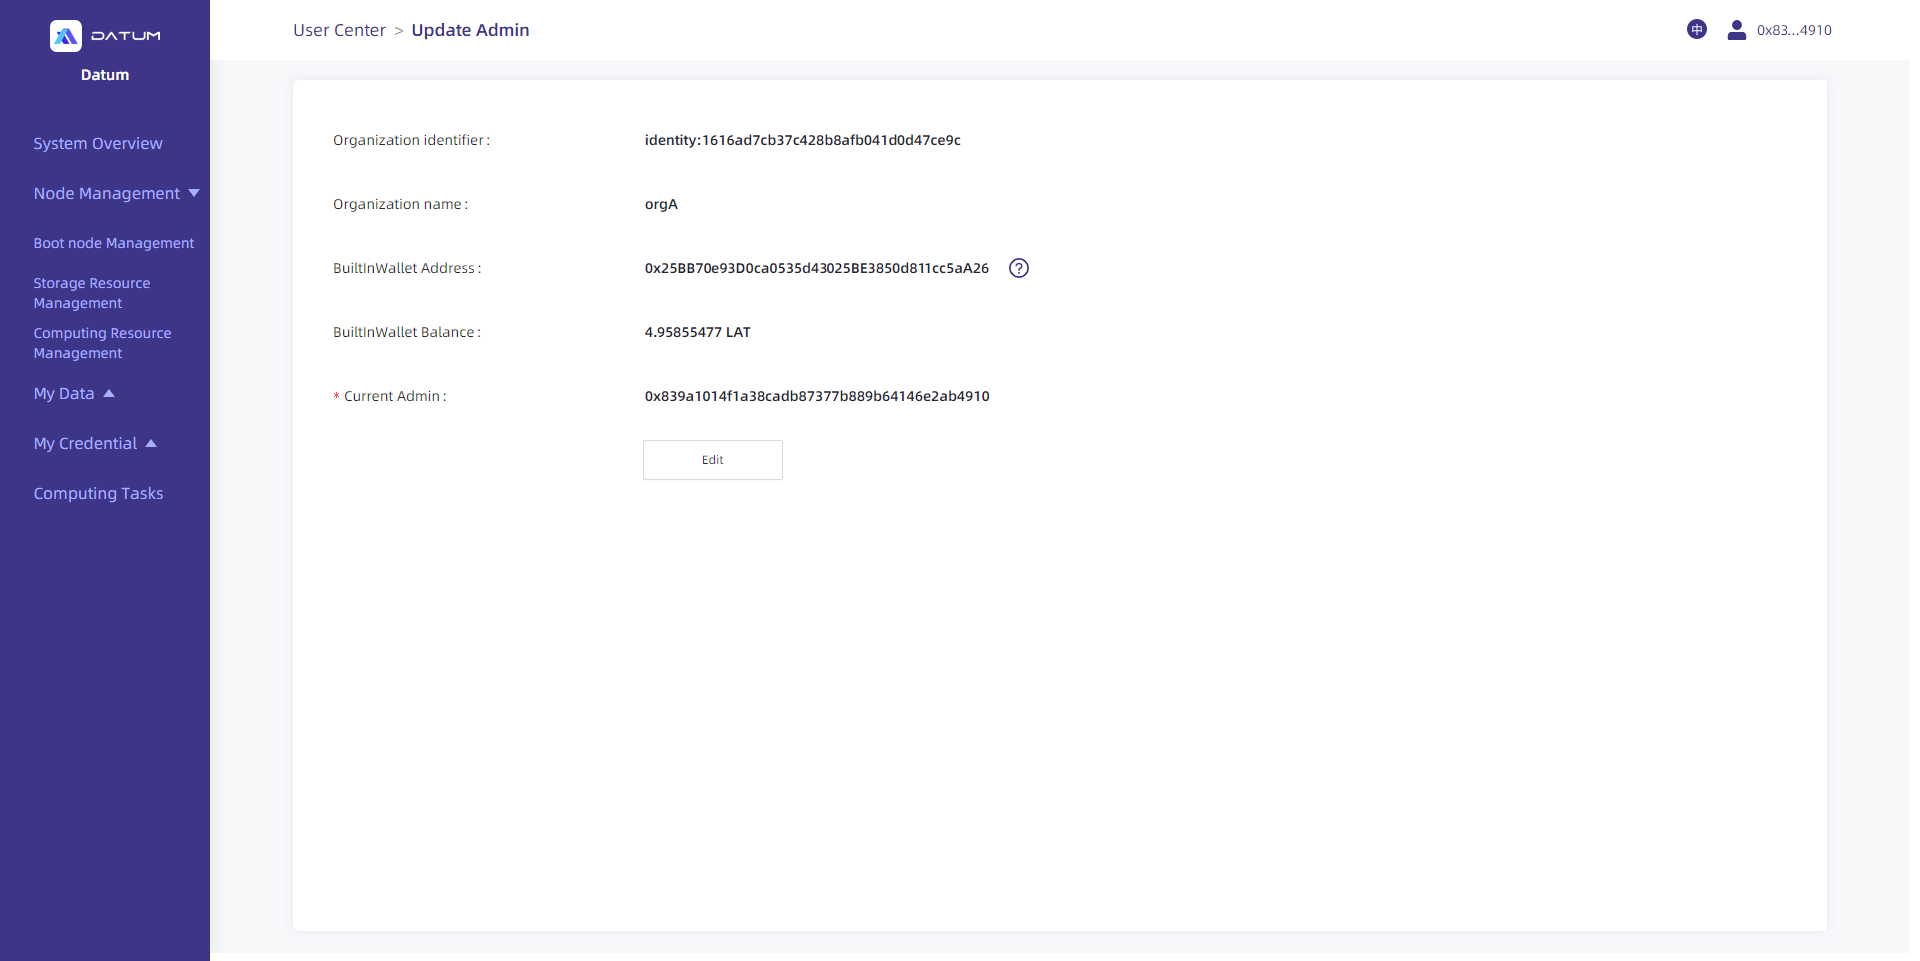
Upon successful initialization, administrators can click on the upper right corner to log in to their accounts and view the relevant node information, including connection status and address information. Admins can also modify the management address and check the built-in wallet and its balance.
(1) Organization information.
(2) Connection status.
(3) Change admin, and check the built-in wallet.
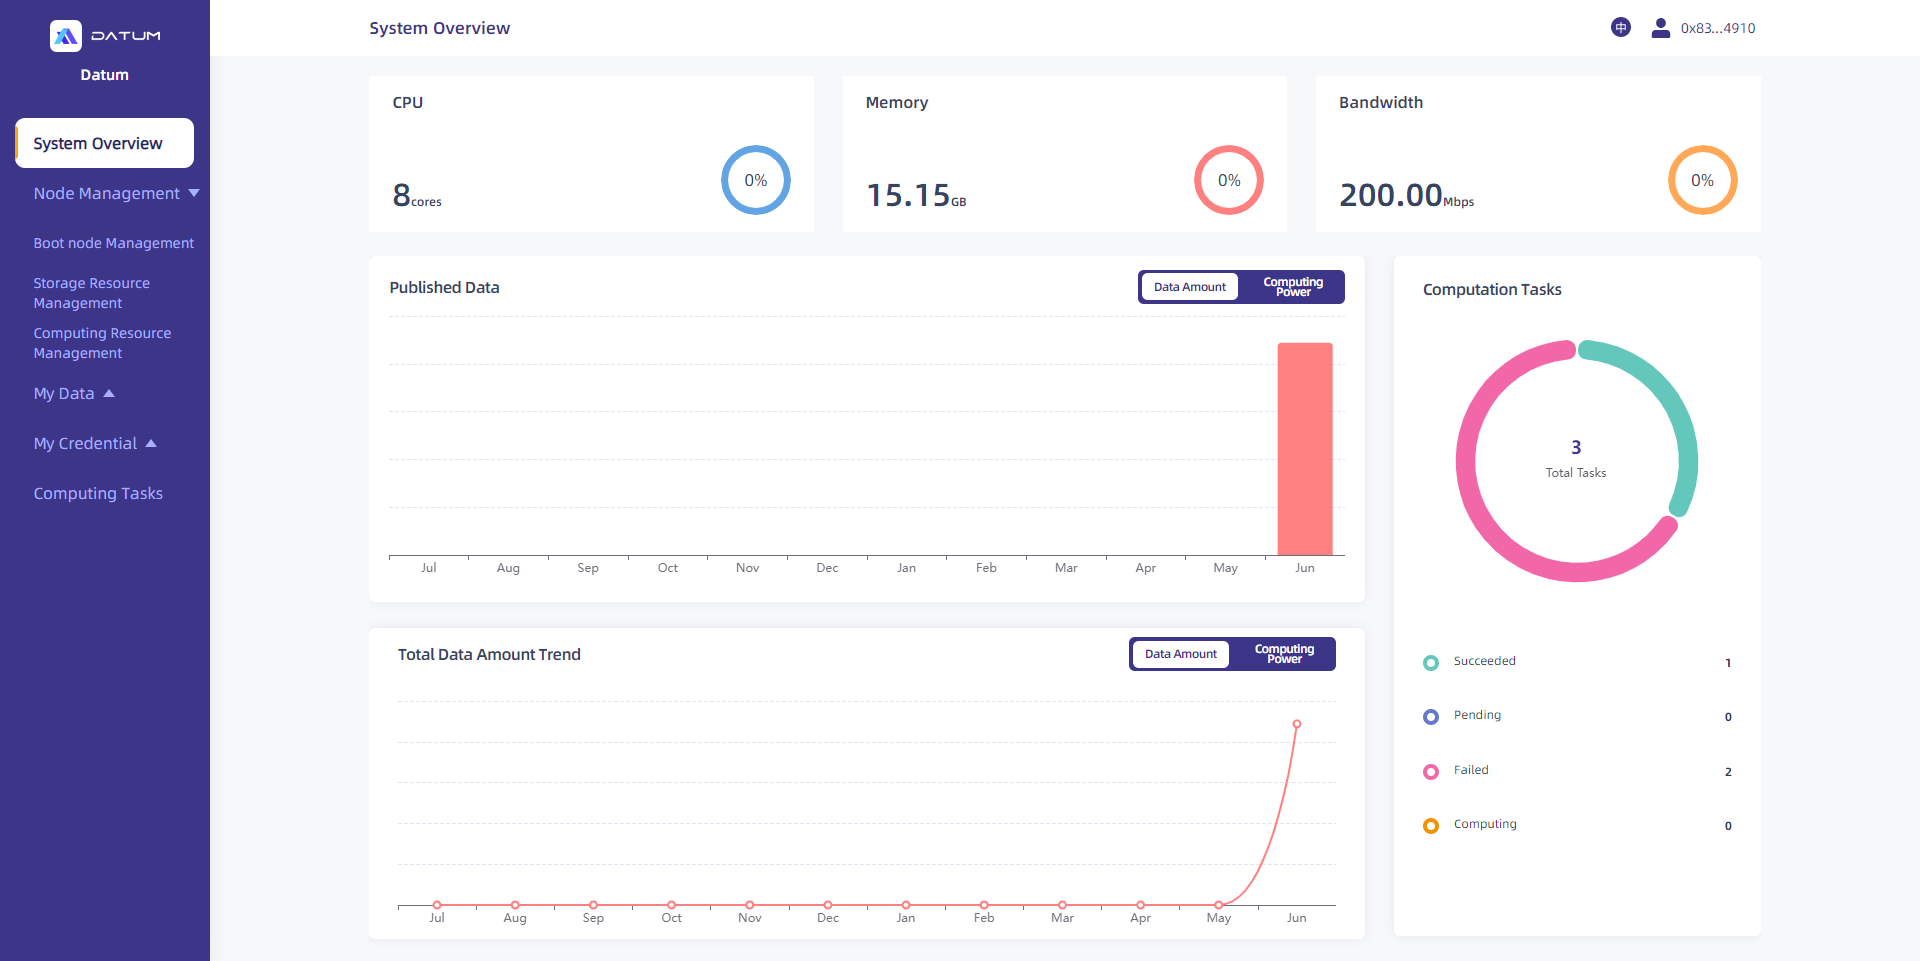
Overview of the Console
The console shows the system resources of the connected node, including CPU, memory, bandwidth, and fee consumption, as well as the tasks performed by the node, which covers the amount of data published and the overview of computing tasks.
Node Management (available only to admins)
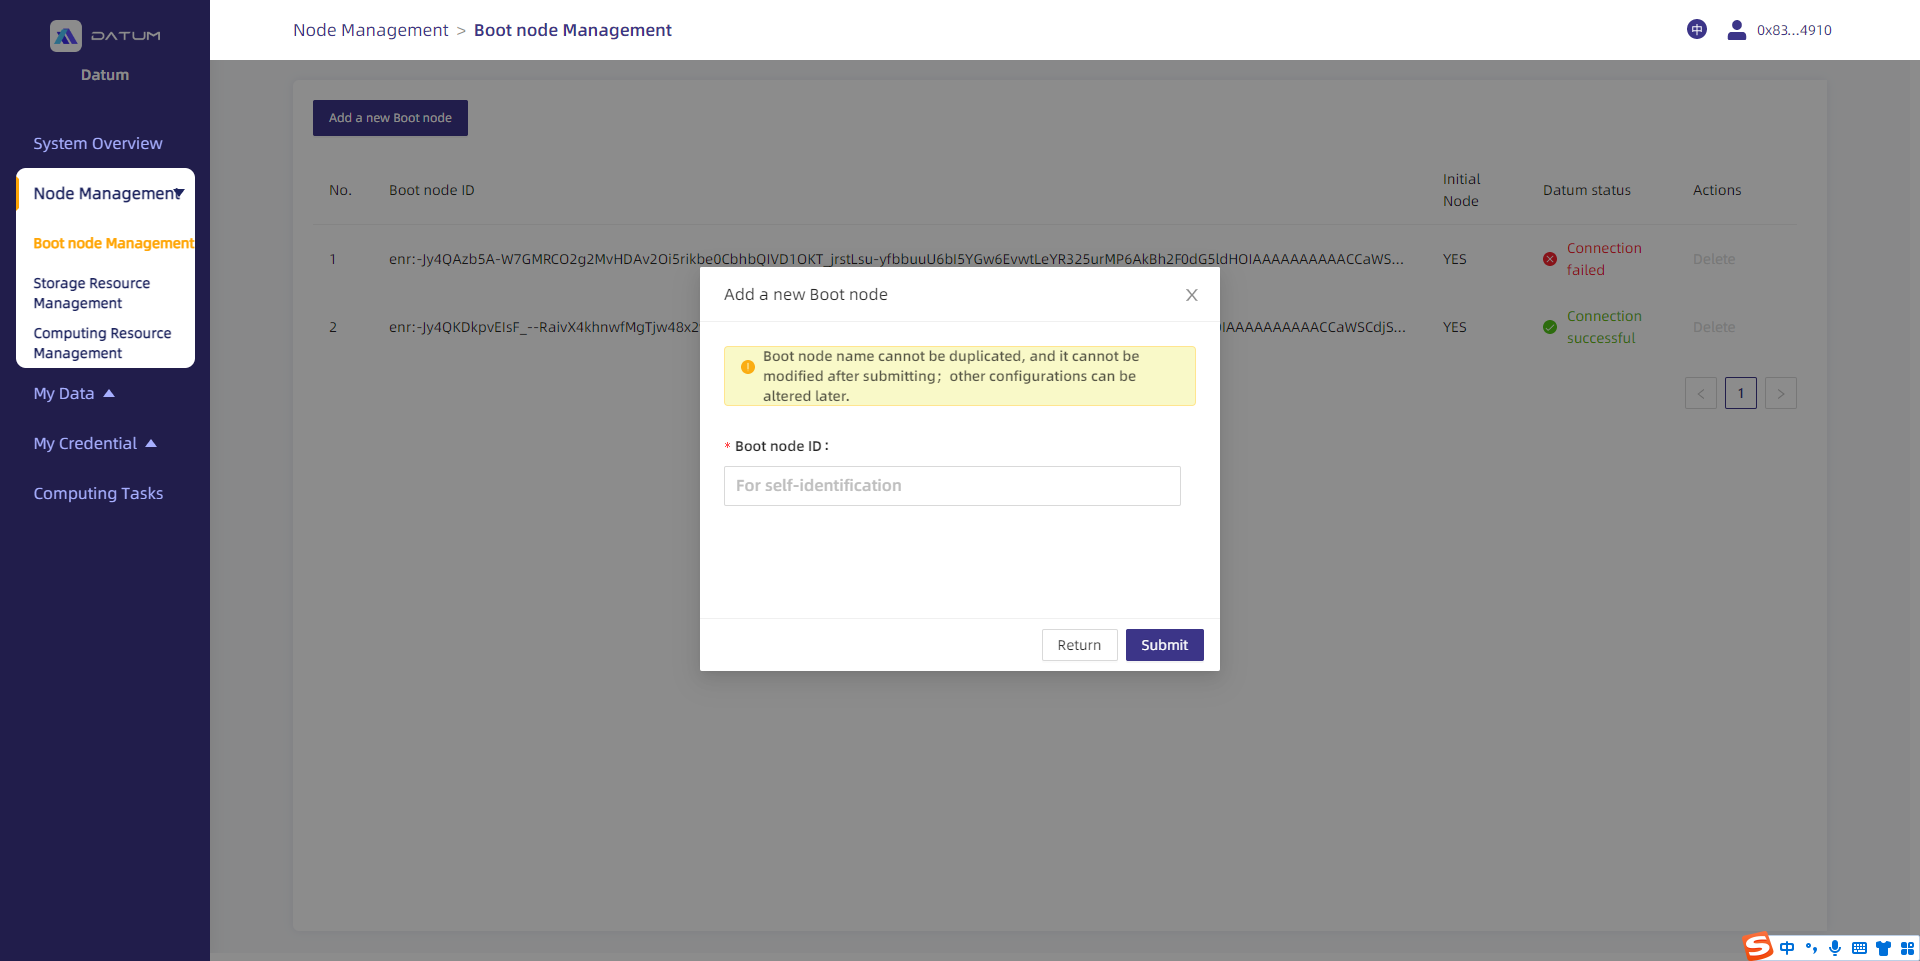
1. Boot Node Management
Datum-network’s new nodes need to connect to a boot node to be discovered by other participants in the network.
When you initialize and register a node, by default, the system will connect it to an initial seed node (the default boot node). You can always go to [Node Management] - [Boot node Management] to update, maintain, or replace the default boot node.
(1) Boot node management page
Click on [Node Management] - [Boot node Management] to enter the management page.

(2) Add or delete boot nodes
Click on [Add a new Boot node] and enter the ID to add a new bootnode.
You can [Delete] a bootnode if you would like to.
2. Storage Resource Management
If you want to be a data provider and publish metadata and creat credentials via local services, you will first have to add “Storage Resource” in the console as a path for managing raw data and publishing metadata.
Click on [Node Management] - [Storage Resource Management] to open the management page.

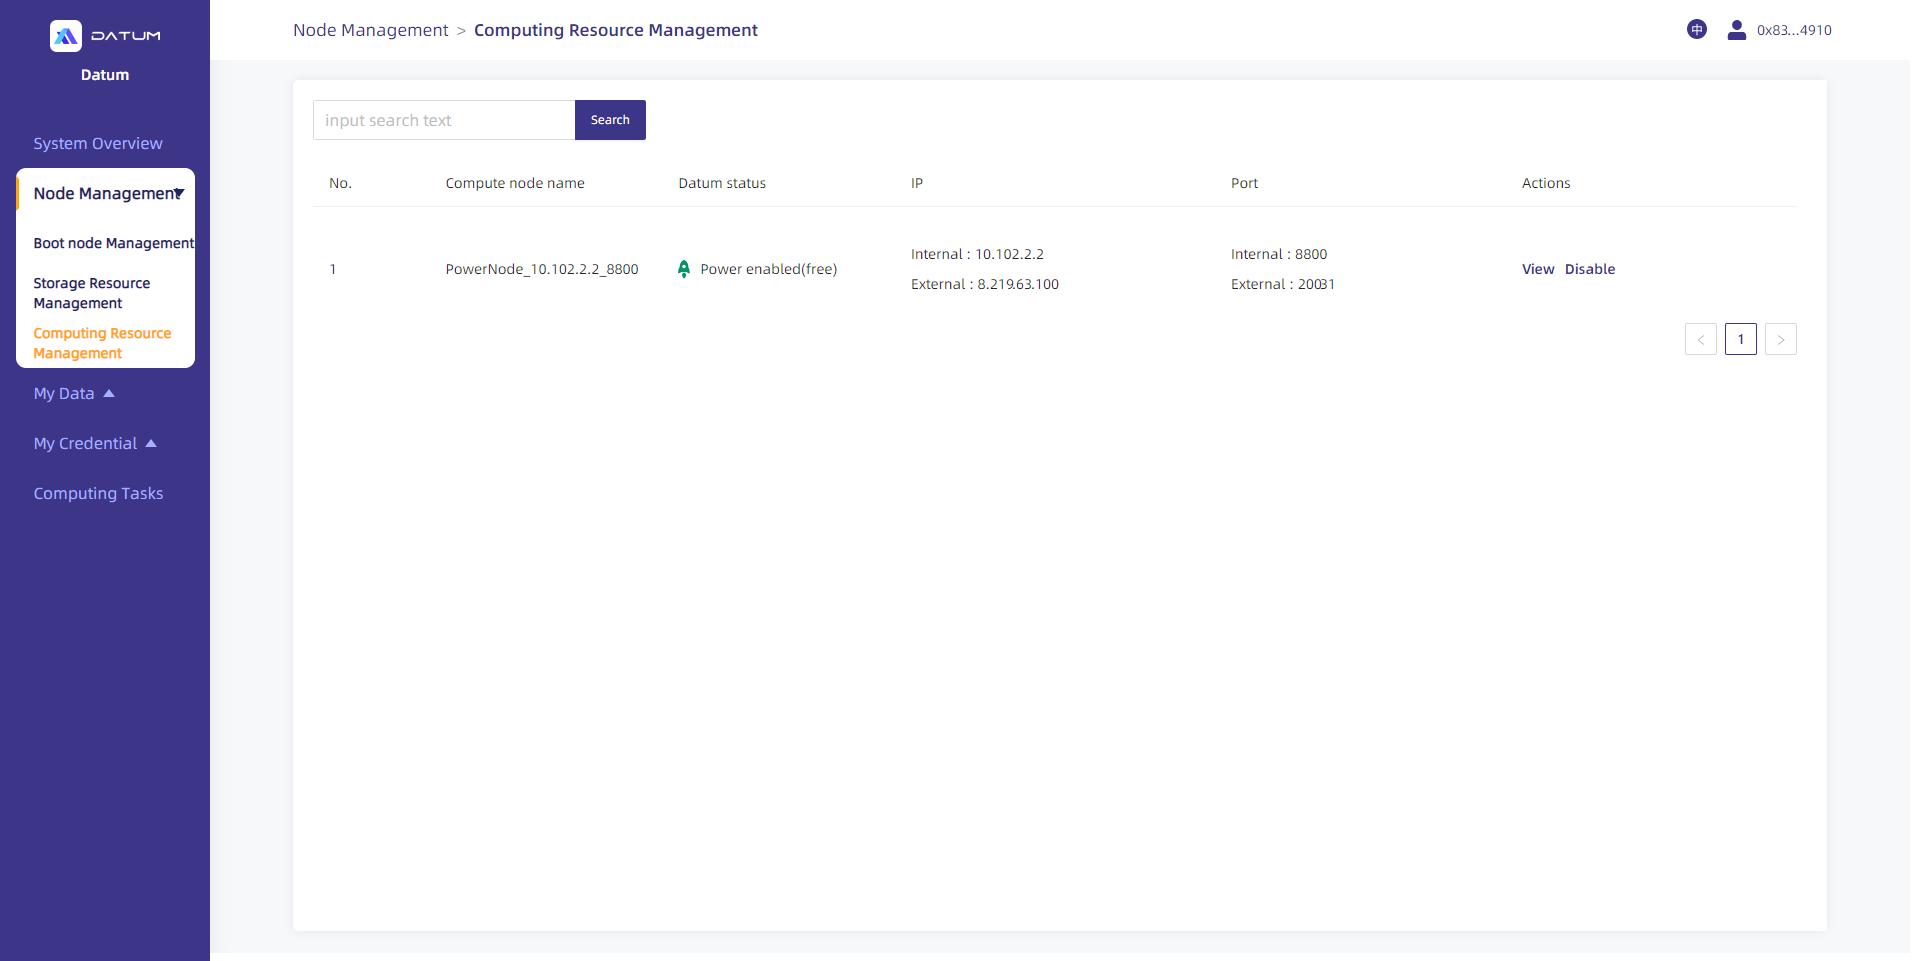
3. Computing Resource Management
If you want to be a computing power provider and offer Datum computing resources, you’ll need to configure “Computing Resource” via the console.
Click on [Node Management] - [Computing Resource Management] to open the resource management page.
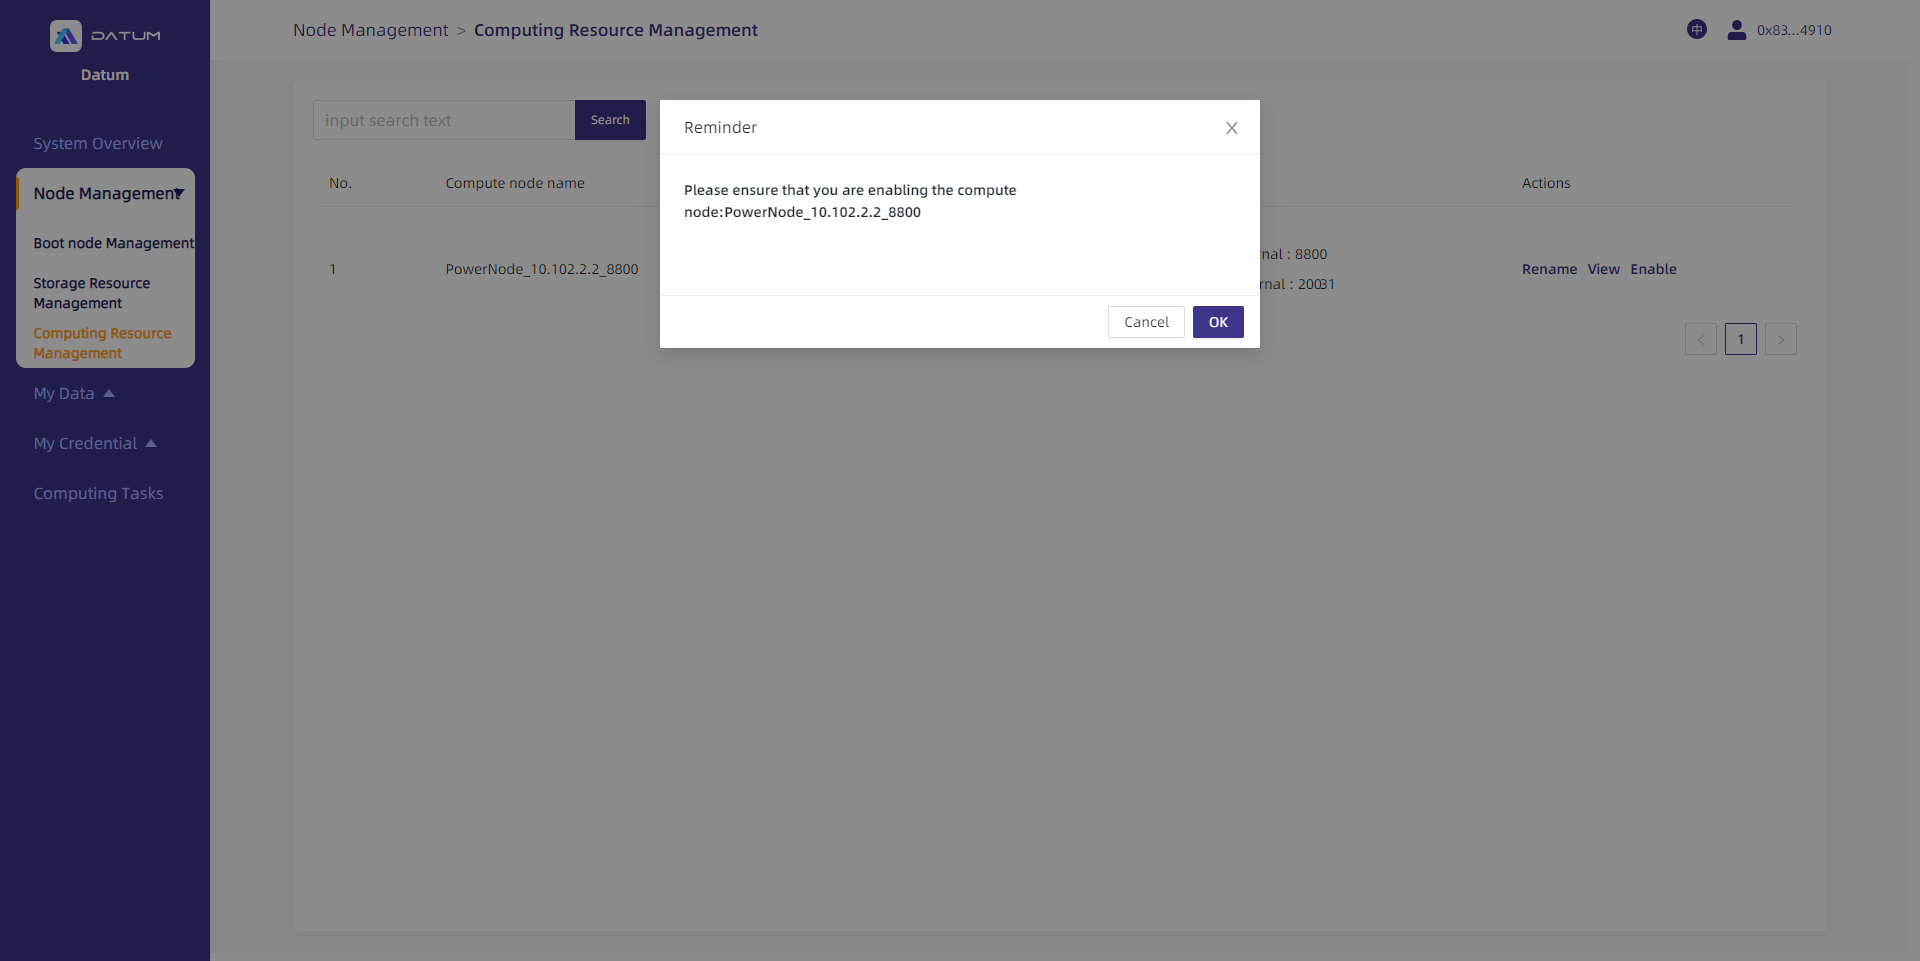
The default status of computing resources is “Disable”, and you can enable, disable, or rename the resources by clicking on the buttons under the [Actions] column.
After the computing resources become enabled, the system will schedule your computing resources according to the privacy computing tasks initiated by participants in the network.
My Data
Through “My Data”, you can manage the original data to be capitalized. For instance, you can add/extract metadata (data information that can be publicly displayed) and issue credentials.
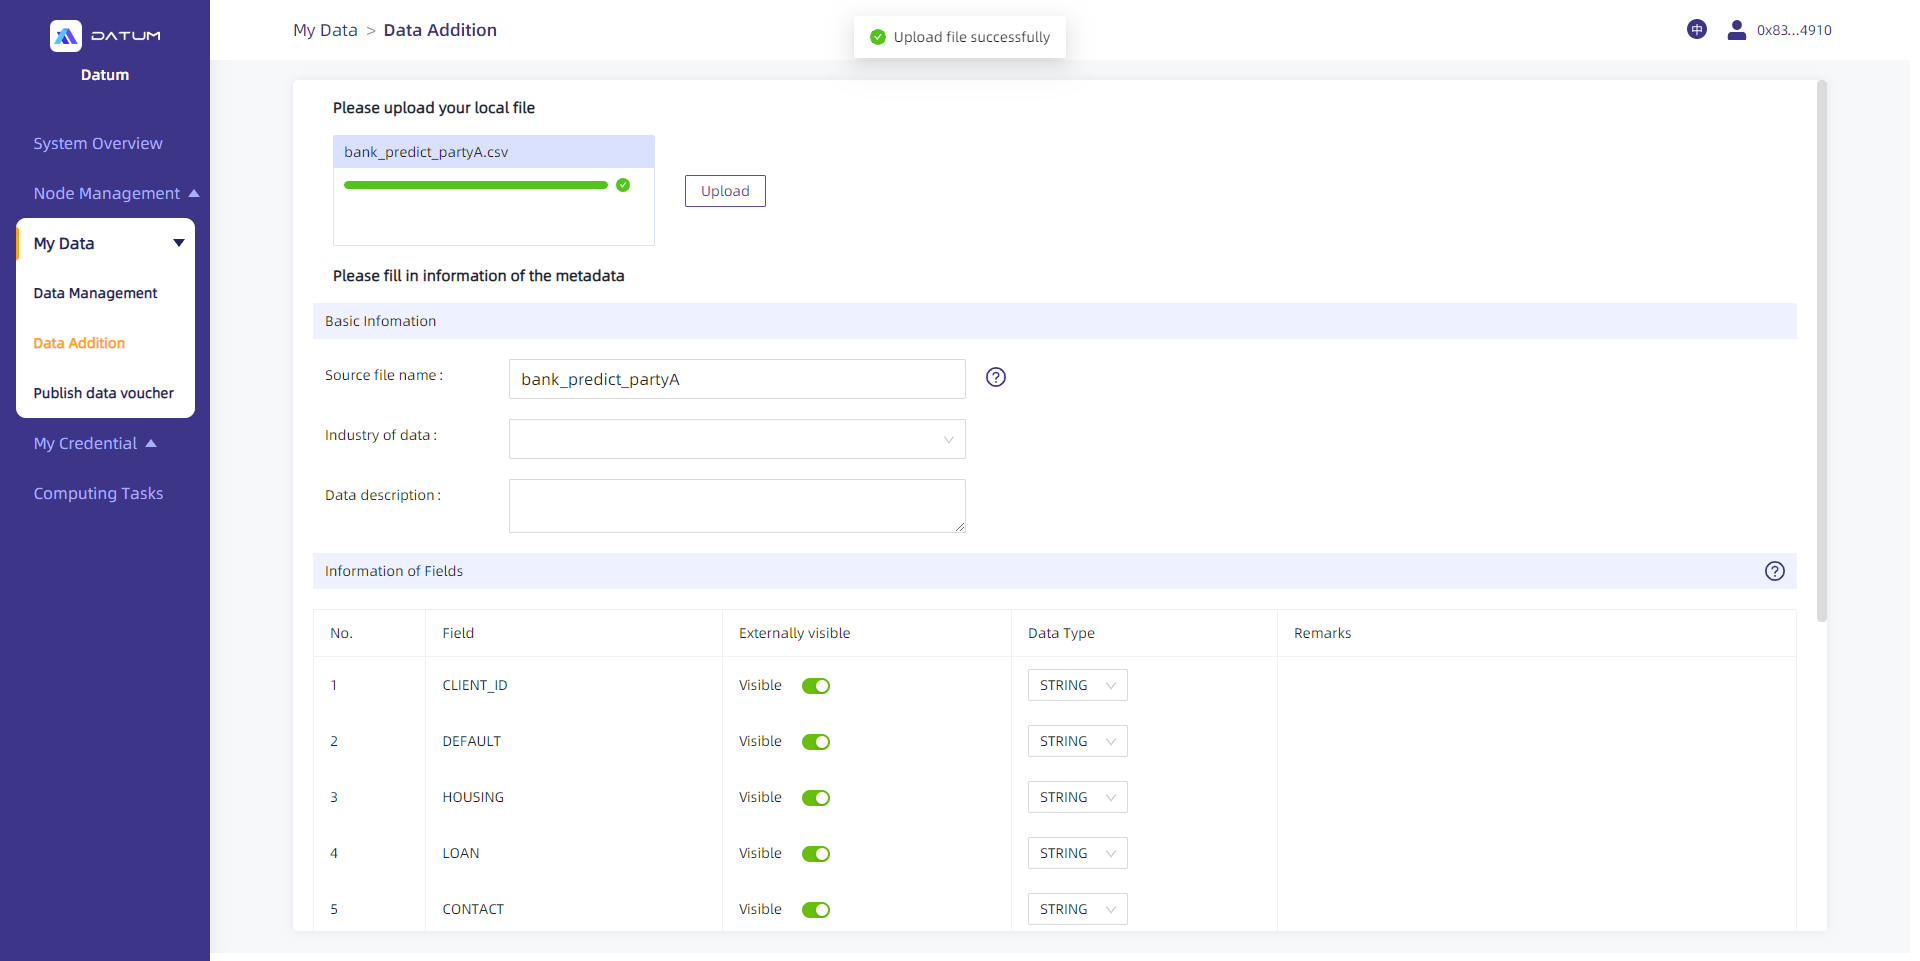
[Data Addition]
(1) Click on [My Data] - [Data Addition] to go to the page for adding data and extracting metadata.

(2) Select the local data file to be used (only CSV files are supported at the moment), then click on [Upload]. The system will automatically read the “Field” and “Data Type” contained in the original data, collectively referred to as metadata. You can modify the metadata information collected by the system and choose whether to make them “Externally Visible”.
(3) After the basic information and field information are filled in and confirmed, you should then click on [Submit] at the bottom of the page to upload the metadata to the present node and enter the [Data Management] module.
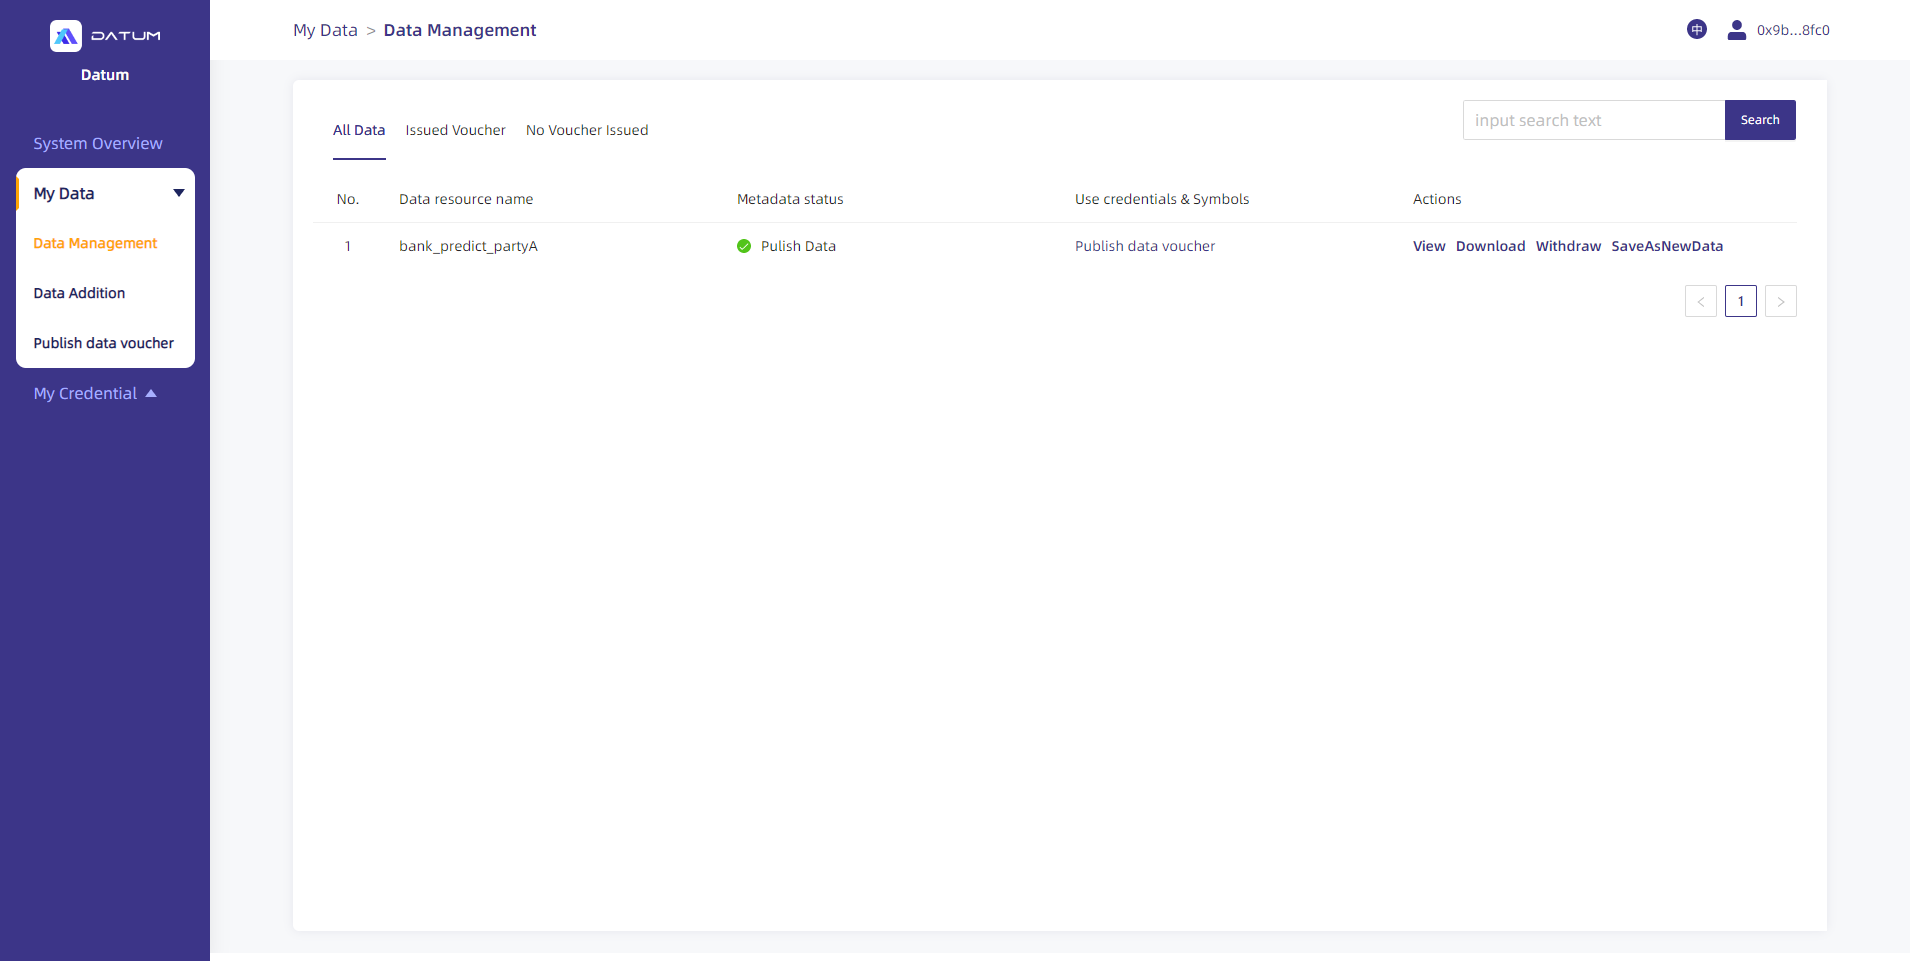
[Data Management]
You can publish metadata and manage your data through [My Data] - [Data Management].
Metadata added through [Data Addition] will appear as “Unpublished” by default. After clicking on [Publish Data], the metadata will be published on Datum-platform’s data market and become available to other participants. Meanwhile, its status will be changed to “Publish Data”.
-
Click on [Withdraw] to withdraw the metadata information that has been sent, and the status will switch from “Publish Data” to “Unpublished”.
-
Click on [View] to view the metadata details.
-
Click on [Download] to download the data uploaded to the present node to your device.
-
Click on [SaveAsNewData] to add a new piece of data to the node based on the published metadata. You can change the display information of the metadata before publishing.
-
Click on [Publish data credential] to issue Data Token based on your data.
[Publish Data Credential]
(1) Go to [My Data] - [Publish data credential] to set the token parameters, including type, basic information, and total circulation.
You can also click on “Publish data credential” in [Data Management] to go to the page.
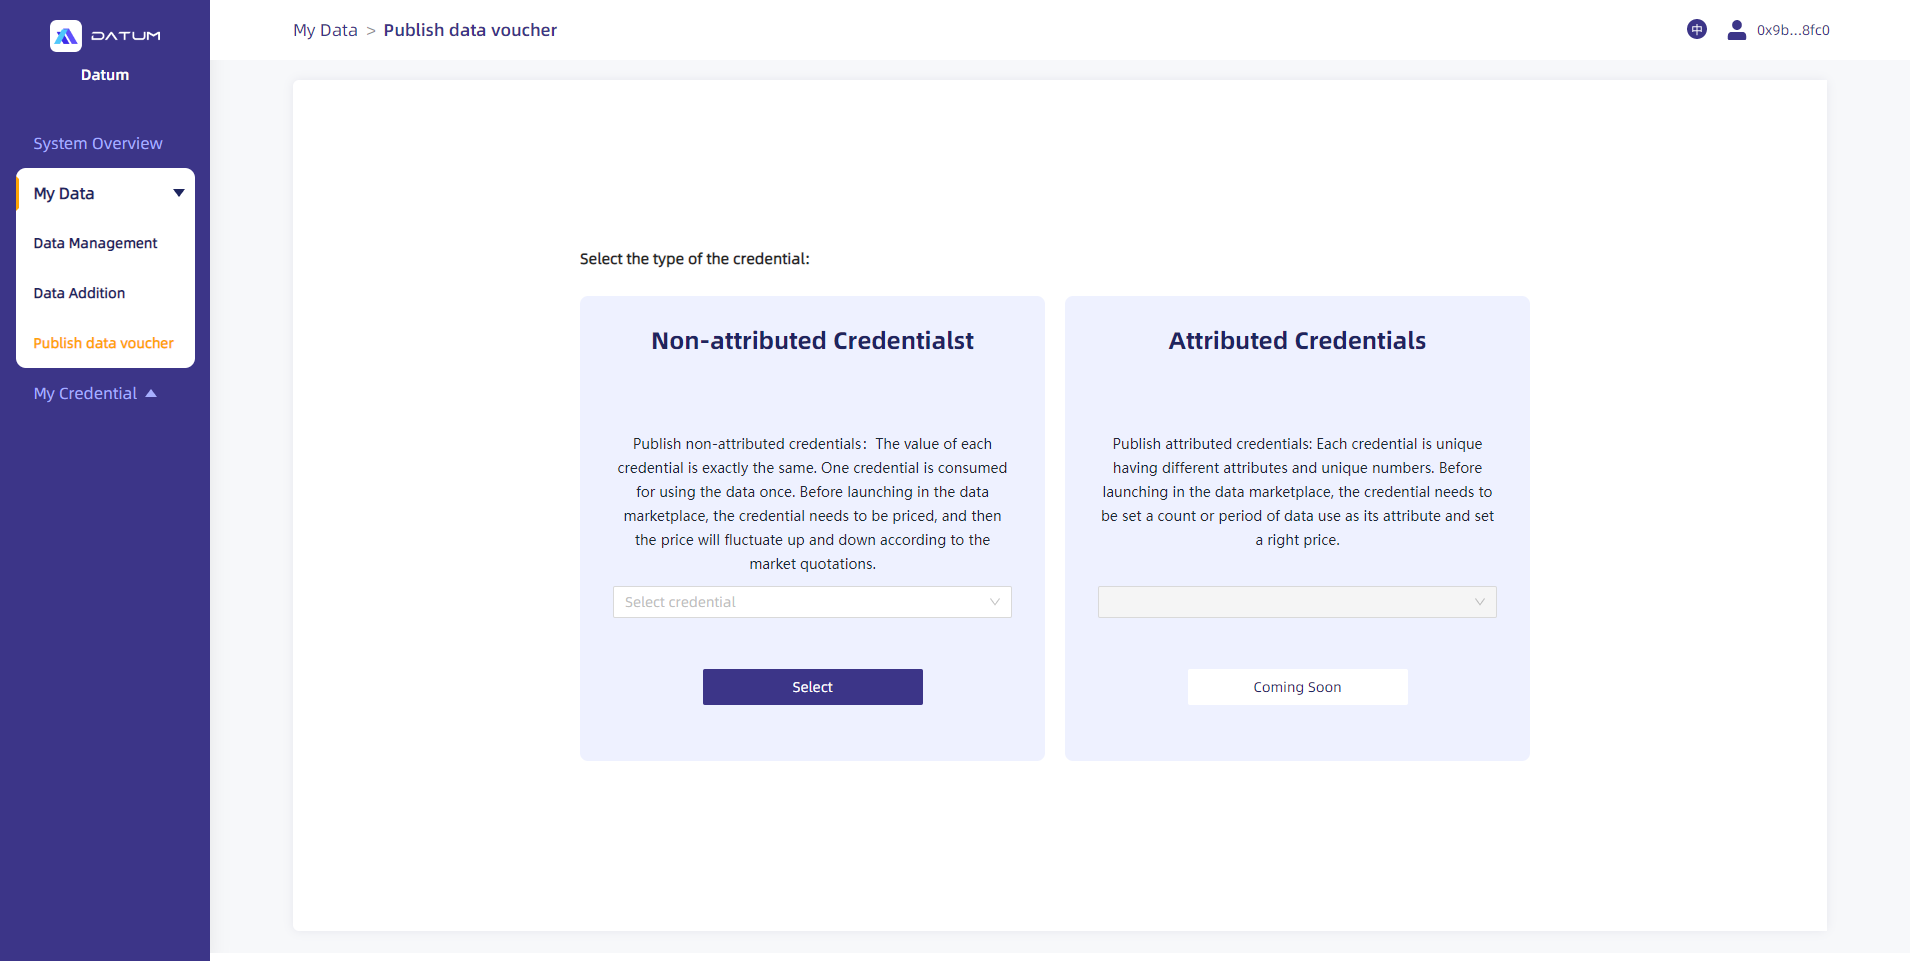
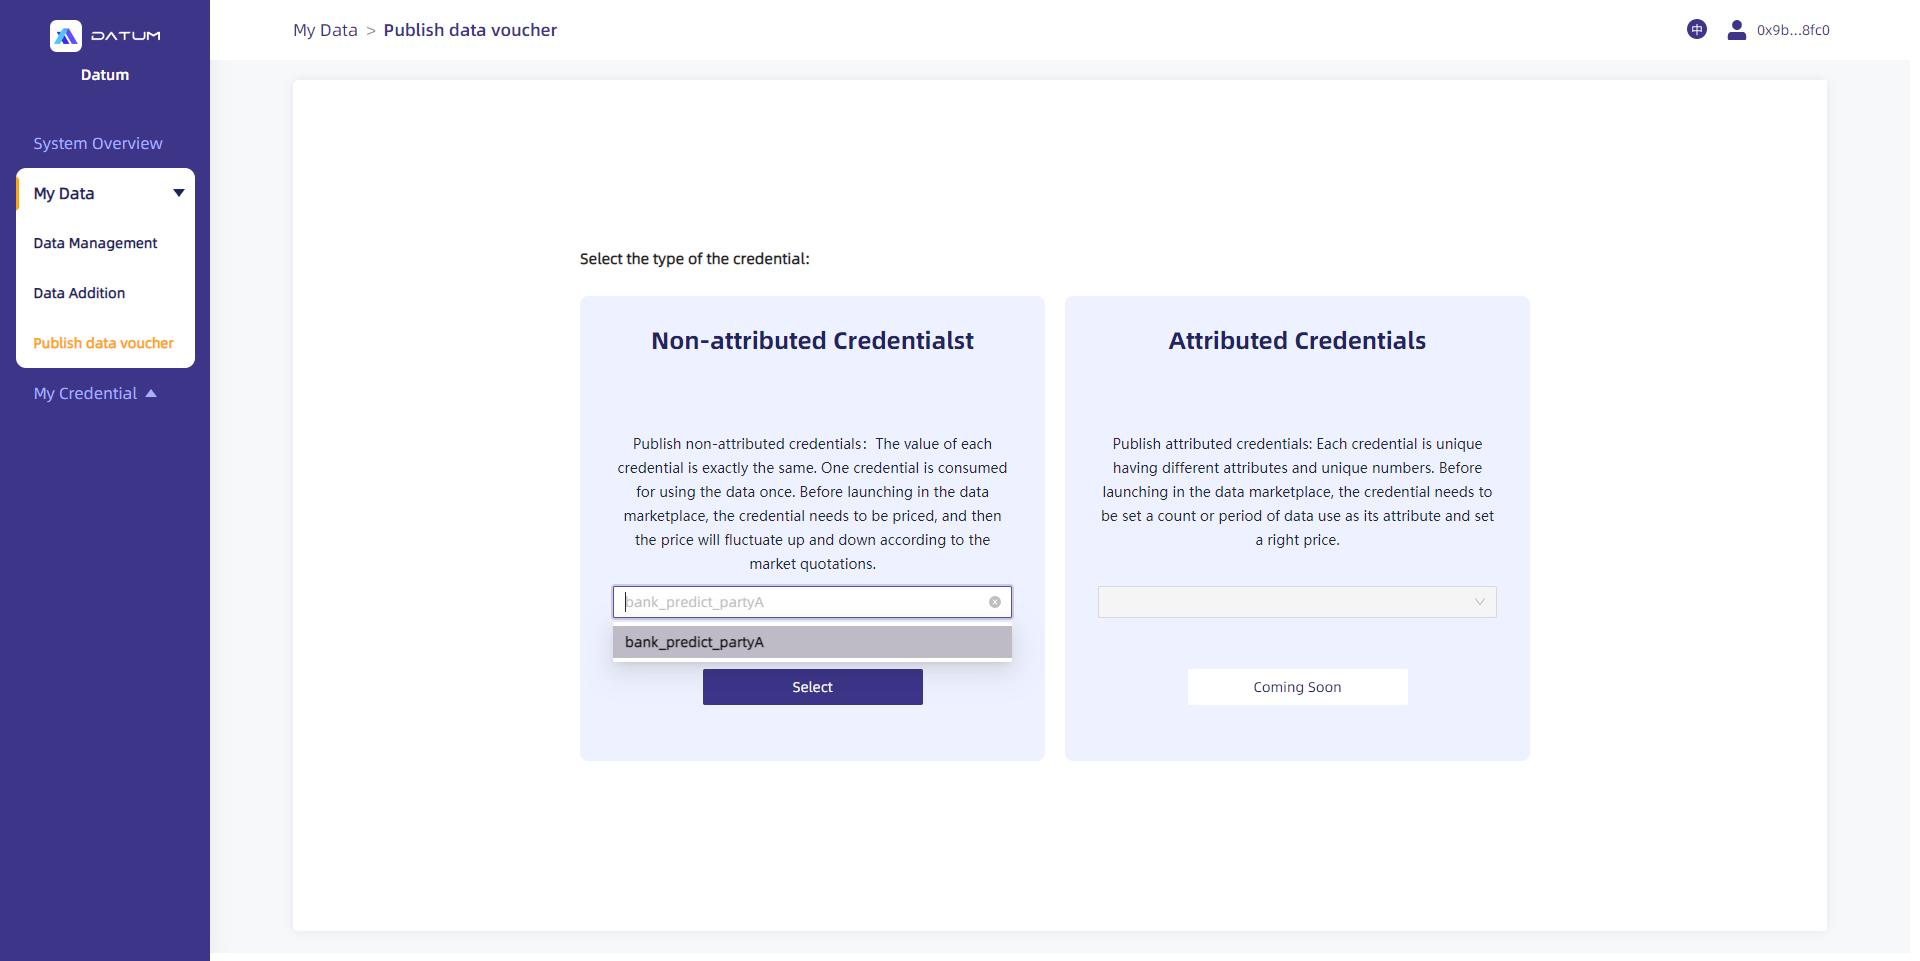
(2) Select the type of credential to be issued: “No Attribute Credentials” are ERC-20 assets, while “Attributed Credentials” are NFTs.
The current version only supports “No Attribute Credentials”.
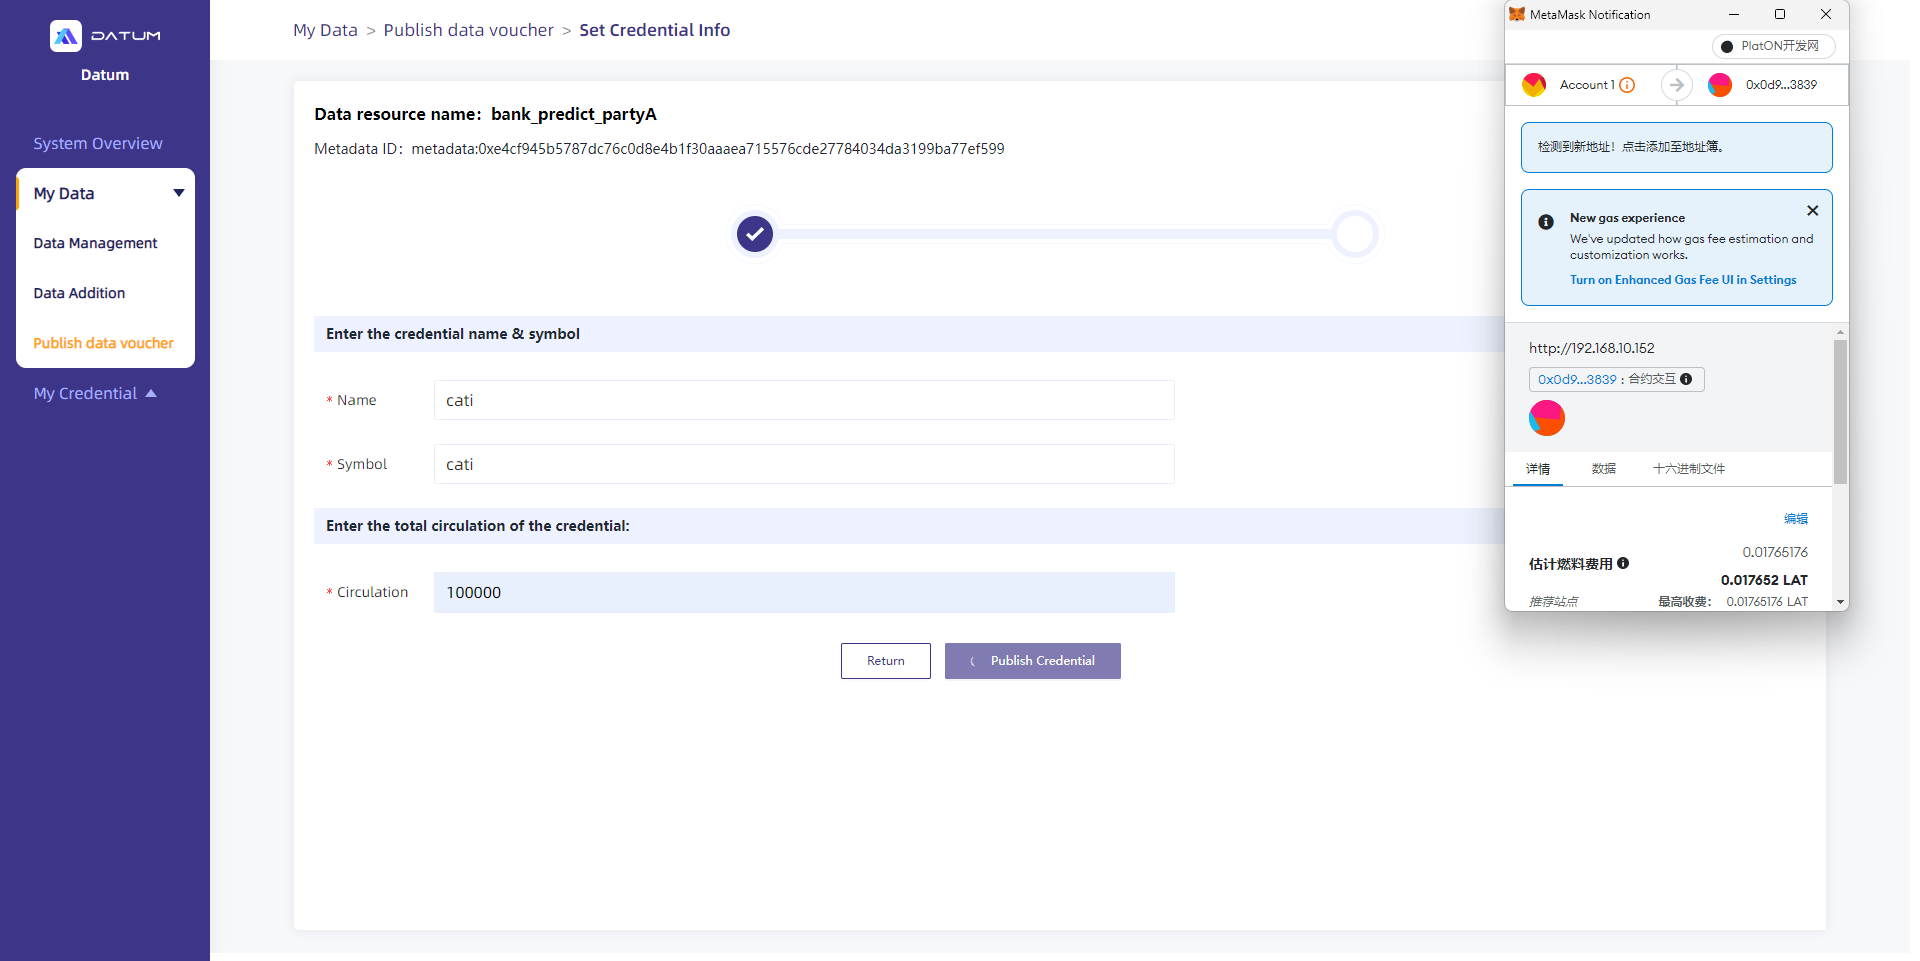
(3) After selecting the data for the issuance of your Data Token, go to the information setting page to set the name, symbol, total circulation, and description of the credential.
-
“Name”: the name of the credential seen in Datum-platform’s data market.
-
“Symbol”: the symbol of the credential on the DEX.
-
“Circulation”: the total amount that can be purchased by other users. Each Credential represents the right to use the corresponding data once.
After the relevant information is entered, click on [Publish Credential], complete signification confirmation for the transaction via Metamask to mint the credential.
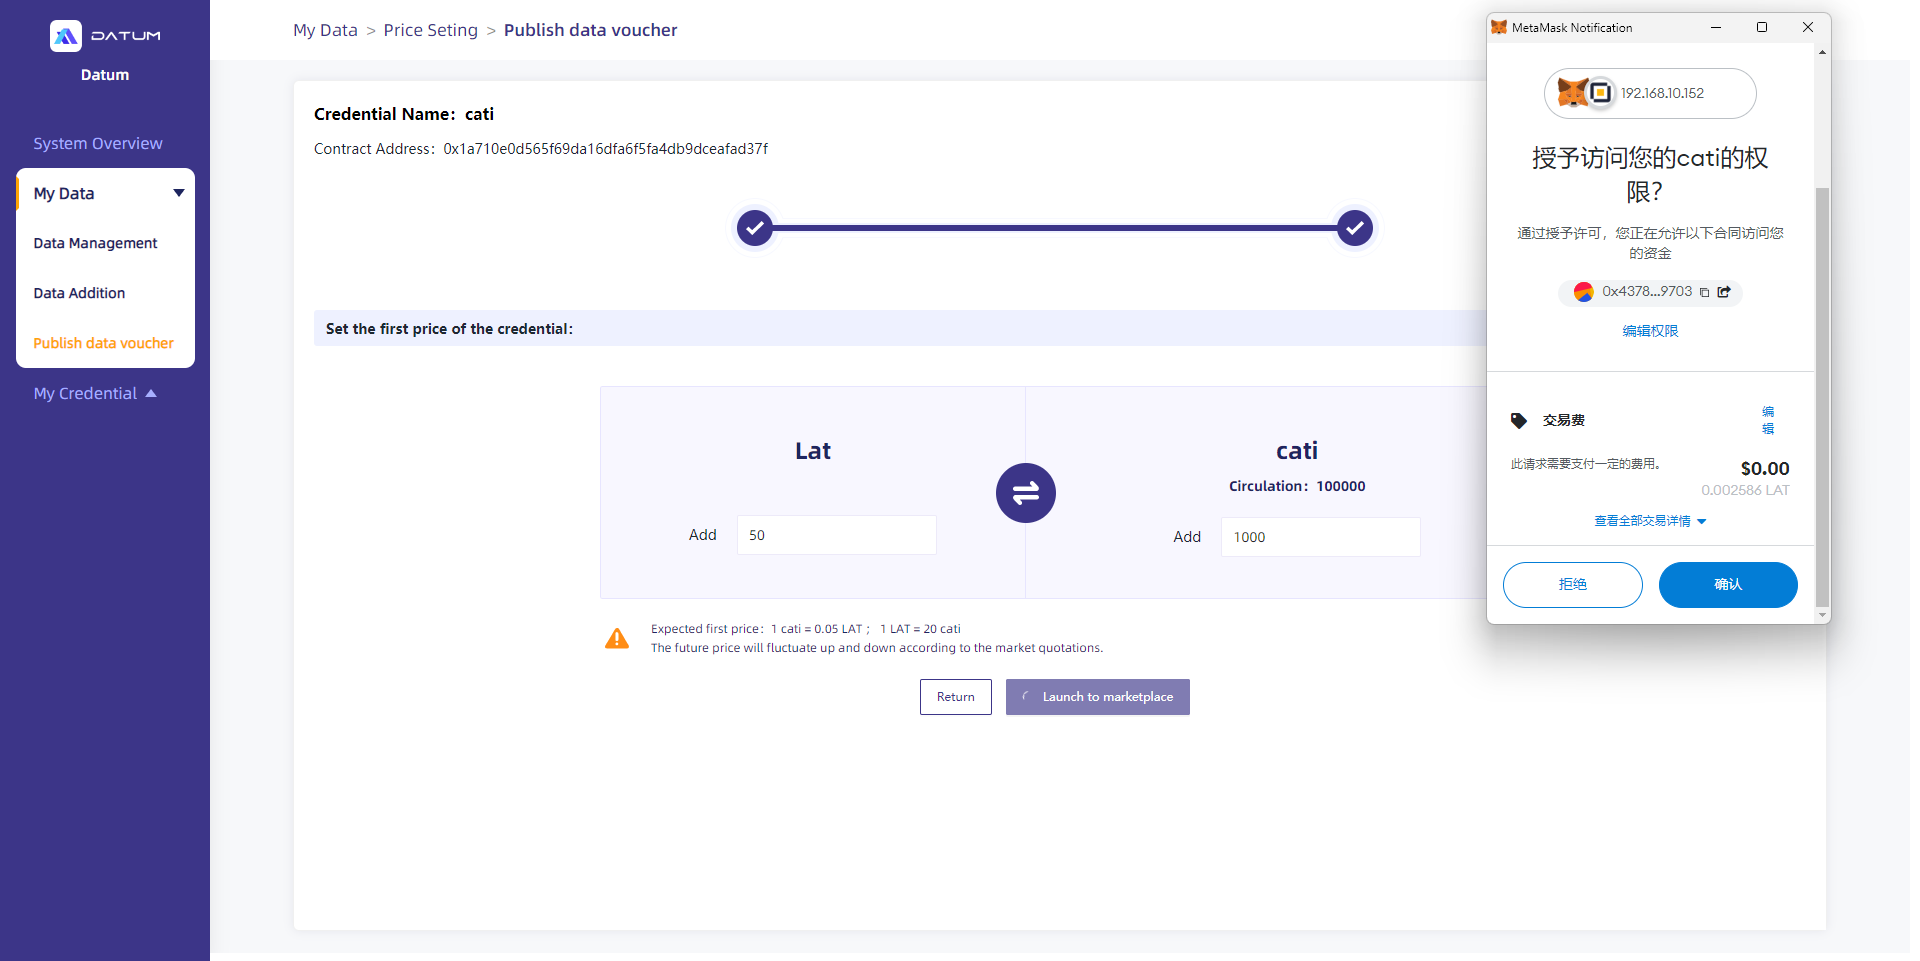
(4) After the credential is minted, you’ll need to set the first price and provide liquidity for the DEX to complete the initial issuance.
Data Tokens will form trading pairs with LAT as the reference price.
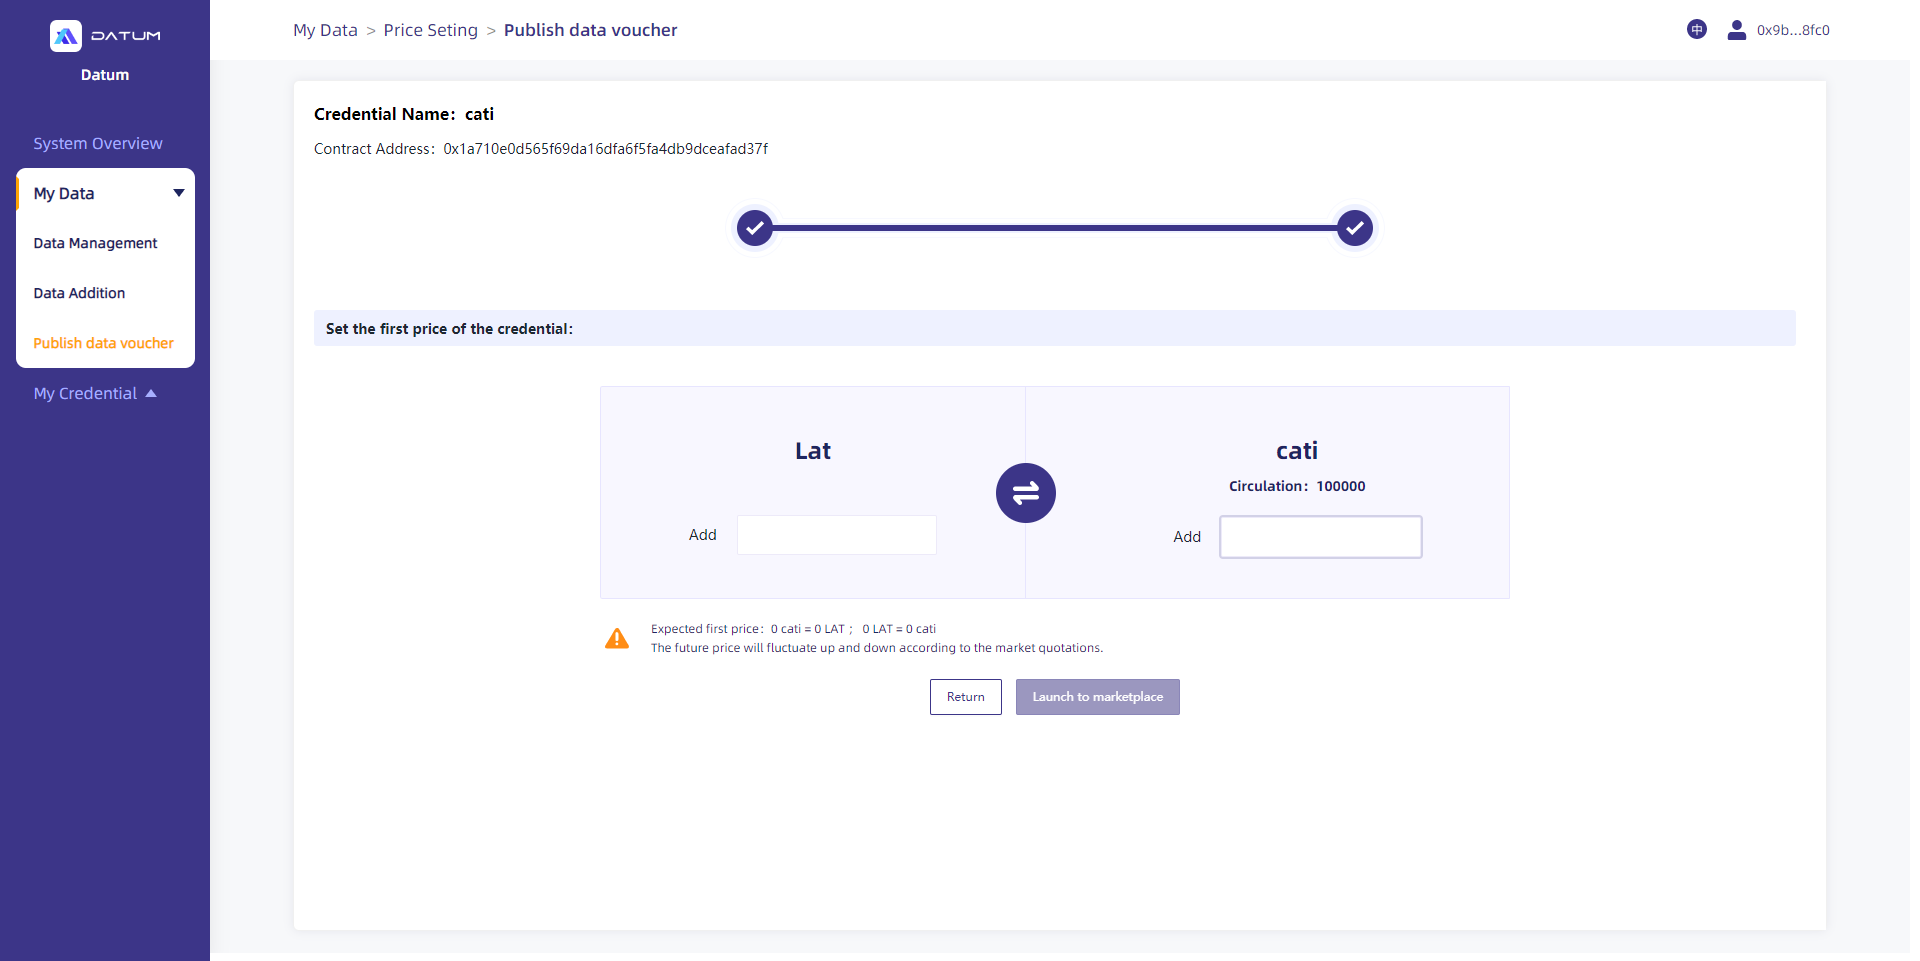
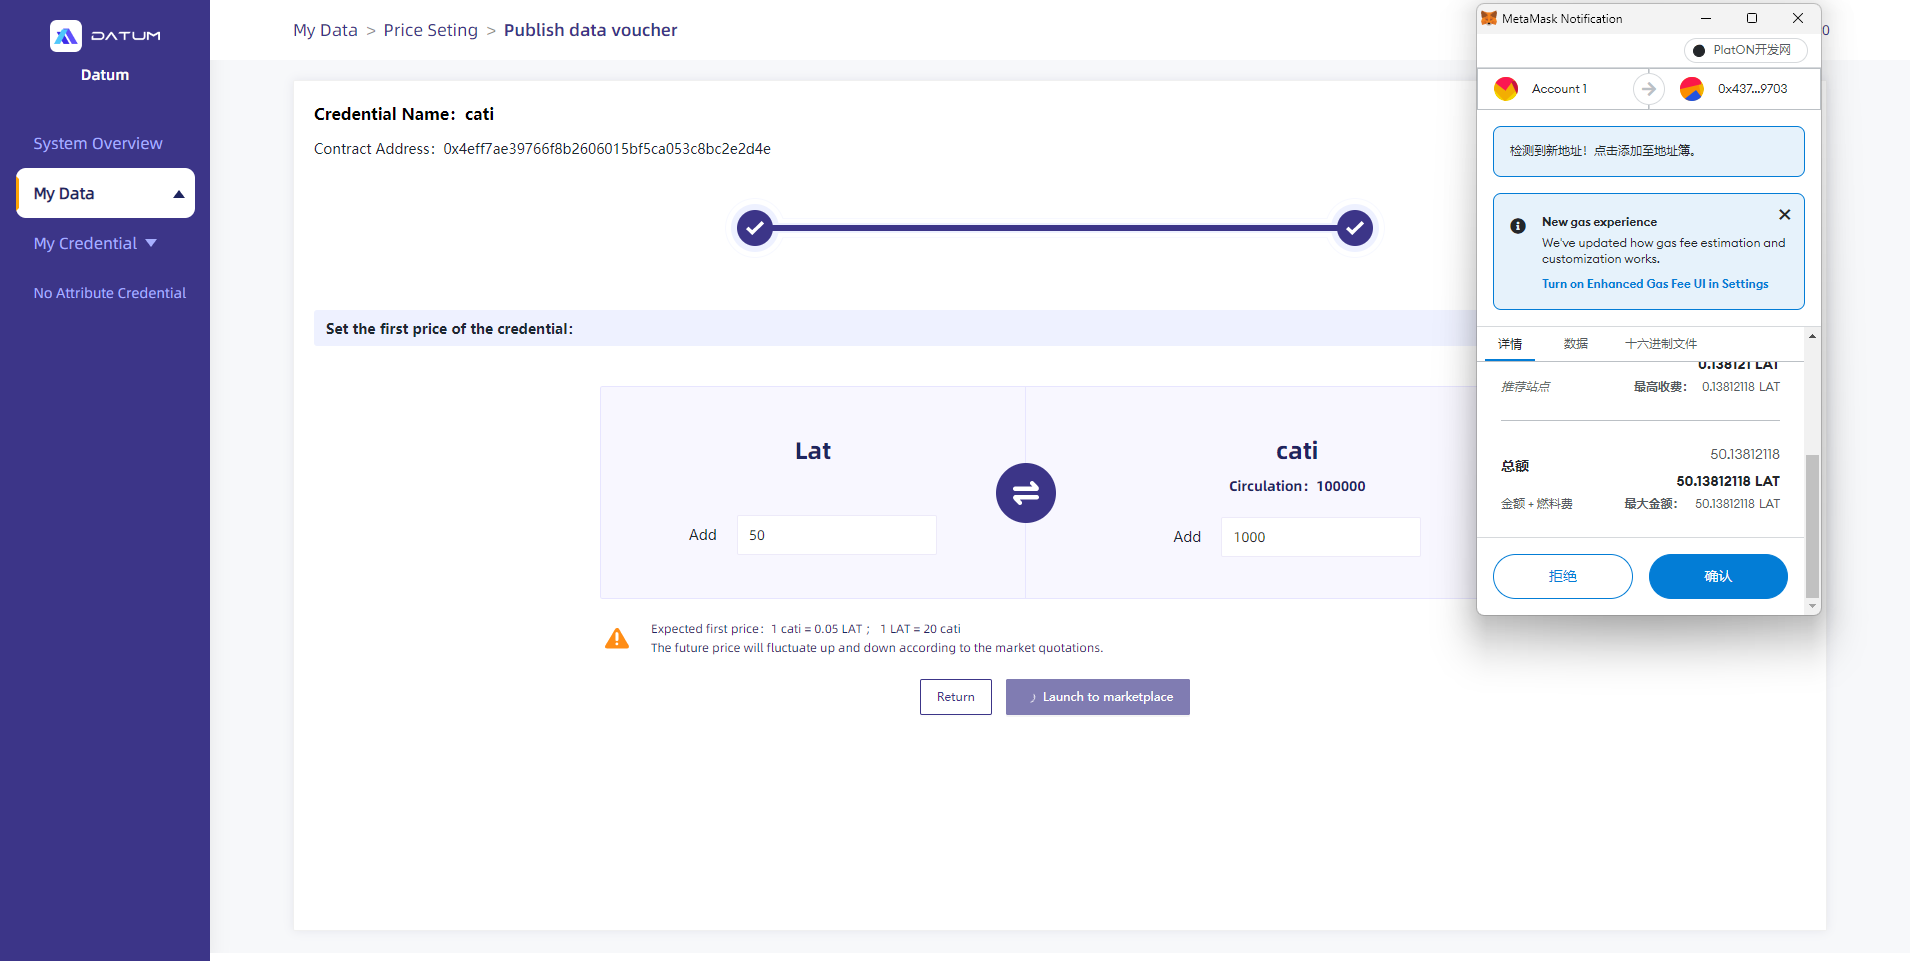
(5) After setting the first price, click on [Launch to marketplace], offer access authorization via Metamask, complete signature confirmation, and then provide liquidity of the token for the DEX.
My Credential
[No Attribute Credential]
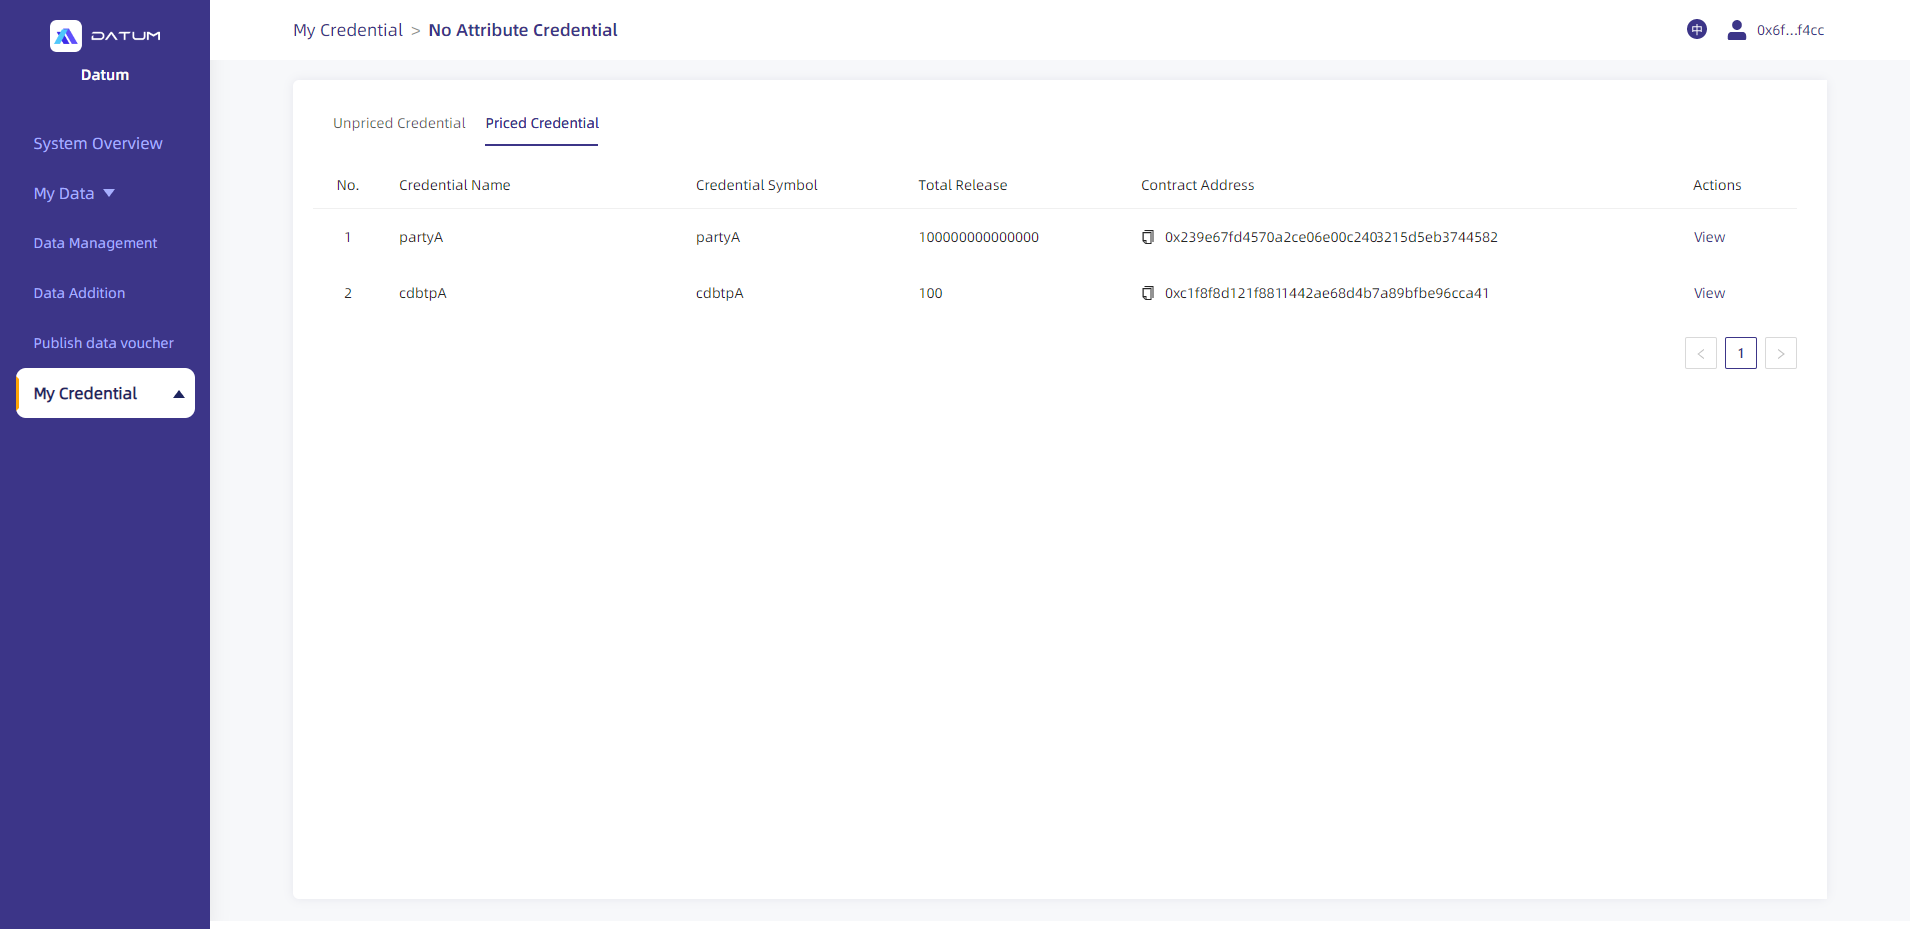
- Click on [My Credential] - [No Attribute Credential] to view and manage the credentials you published.
The [Priced Credential] page shows the information of priced credentials with liquidity added to the DEX. In particular, the “Contract Address” will be used to add the token in Metamask. You can click on “View” to go to the DEX.
The [Unpriced Credential] page shows the information about unpriced credentials that have been minted. You can click on “Set Price” to price the credentials and add liquidity.
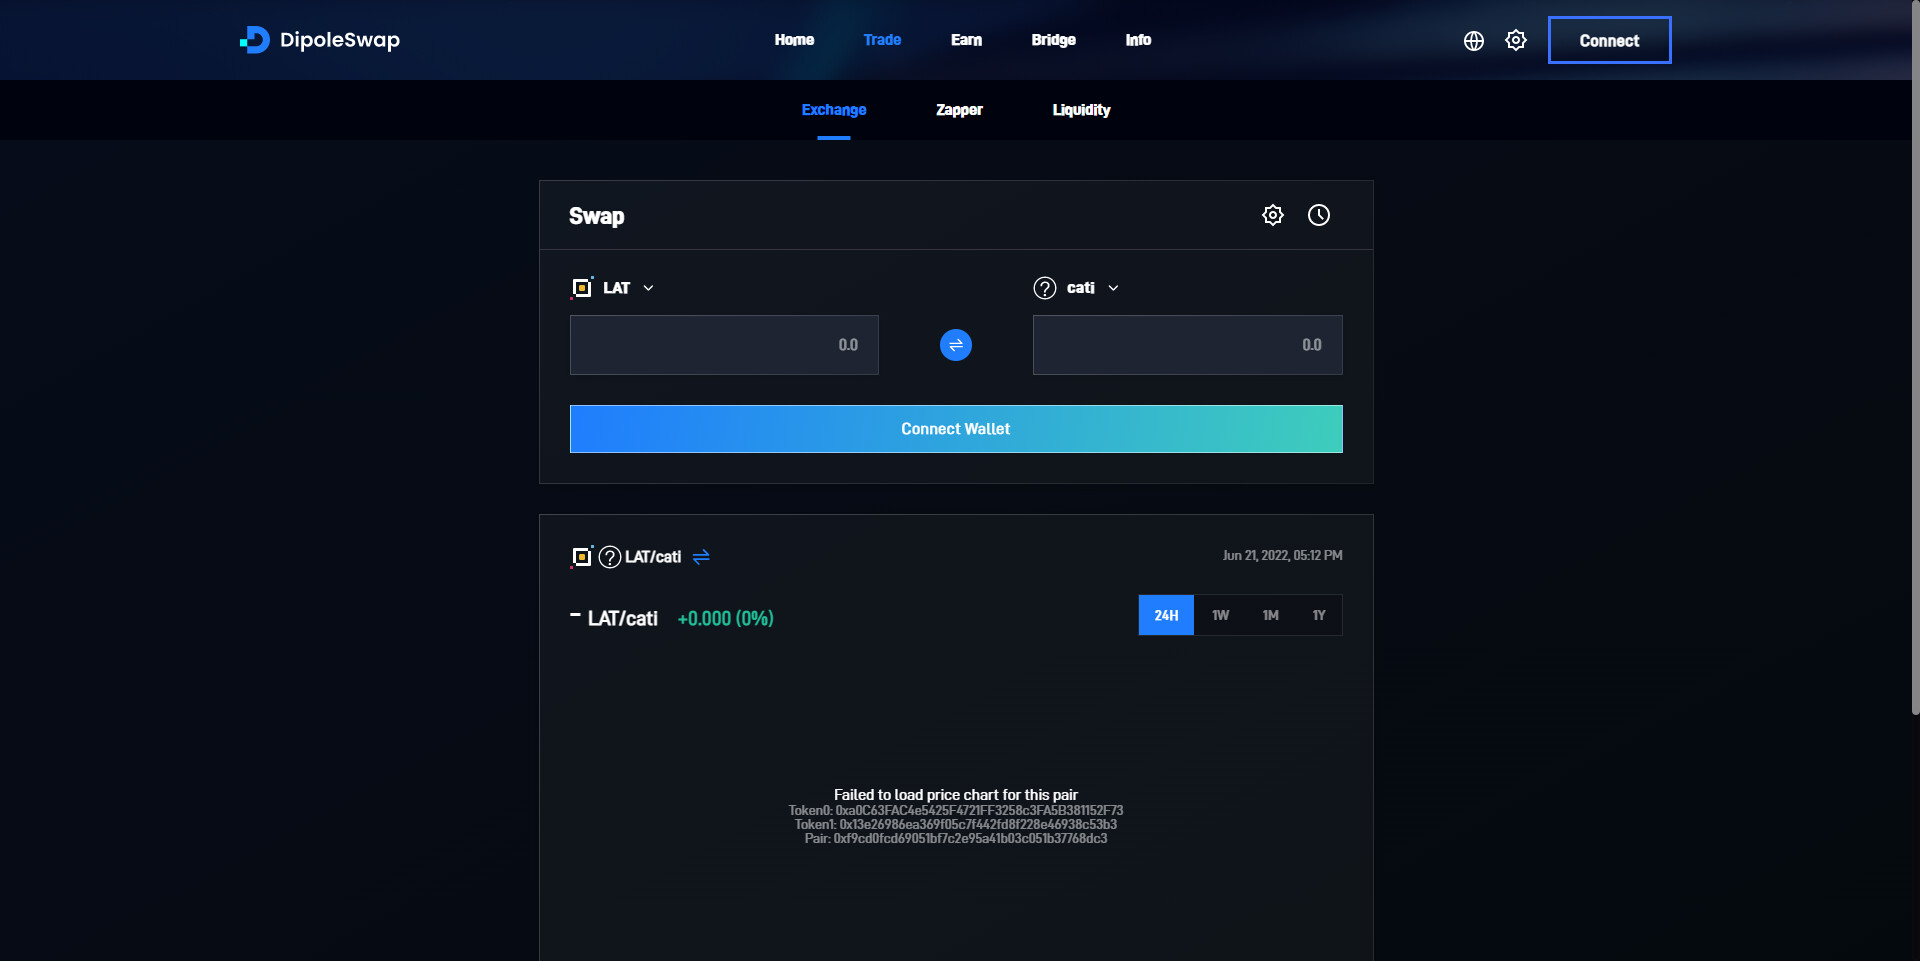
- Priced credentials with liquidity added are available on the DEX https://test.dipoleswap.exchange/
(1) First, confirm the importation of the Token.
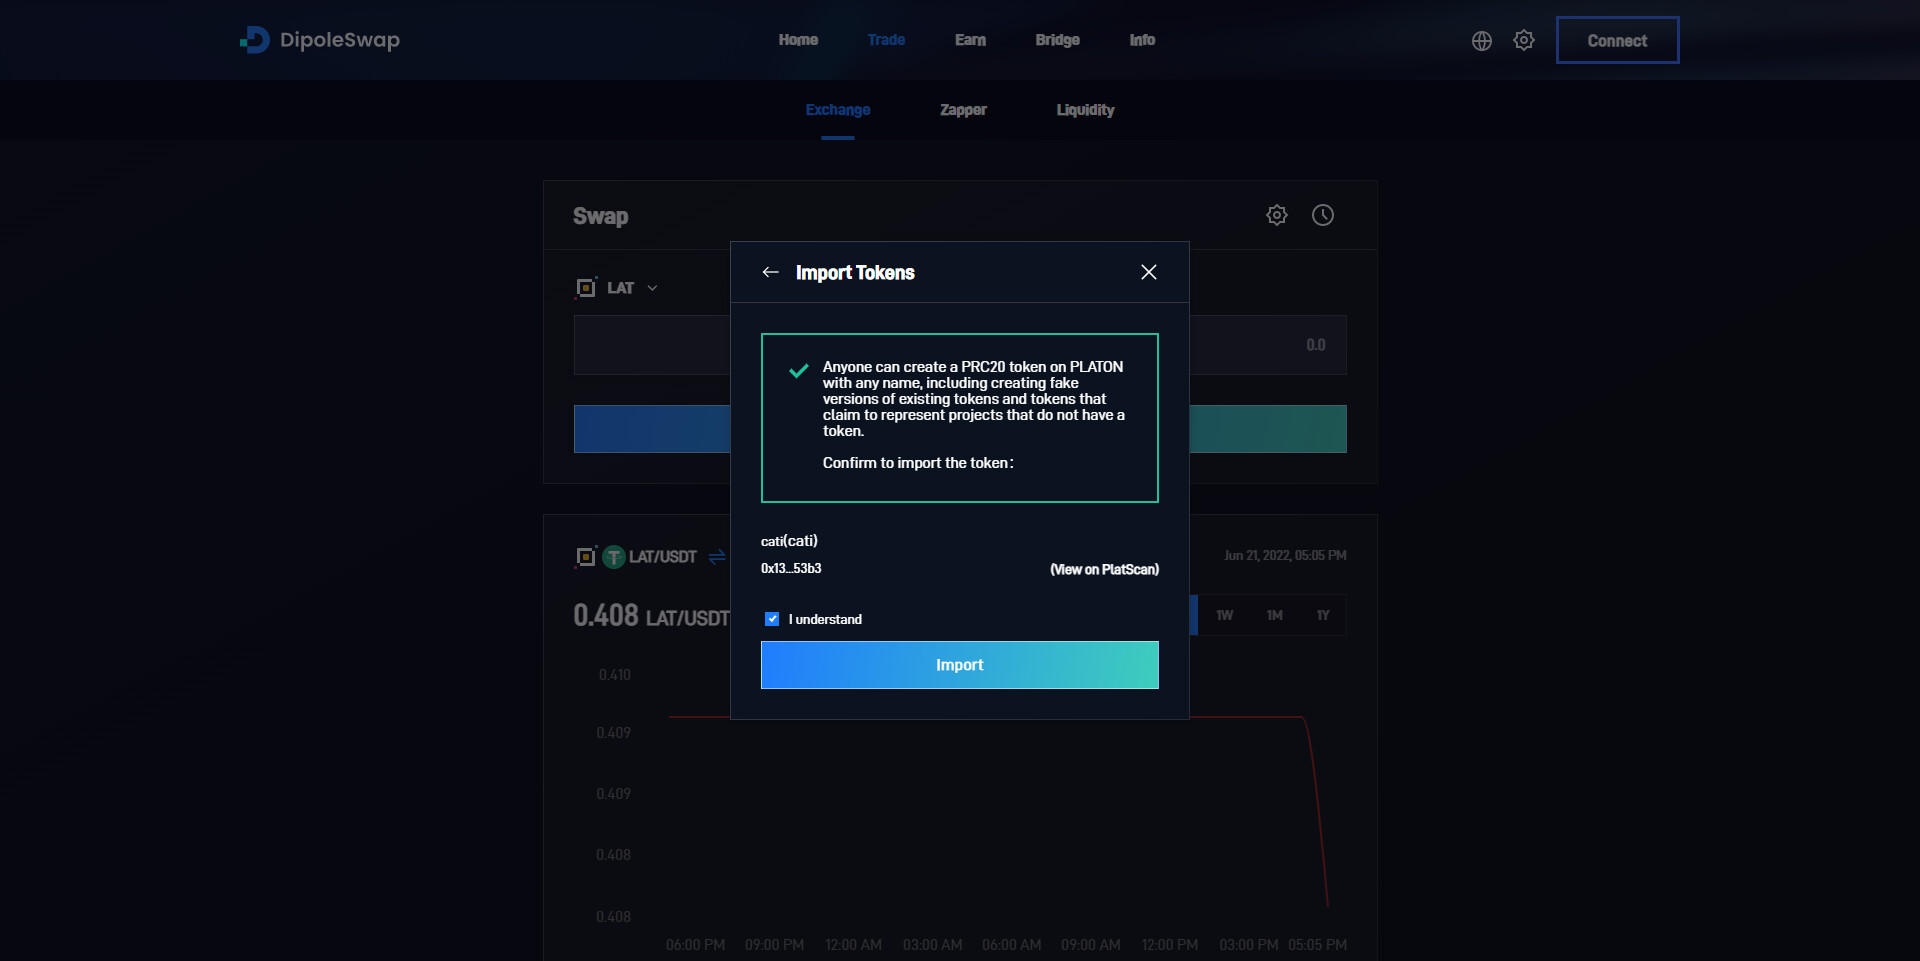
(2) You can check the added Token via the Swap page on the DEX and purchase the Token through Swap or adjust the Token’s liquidity.
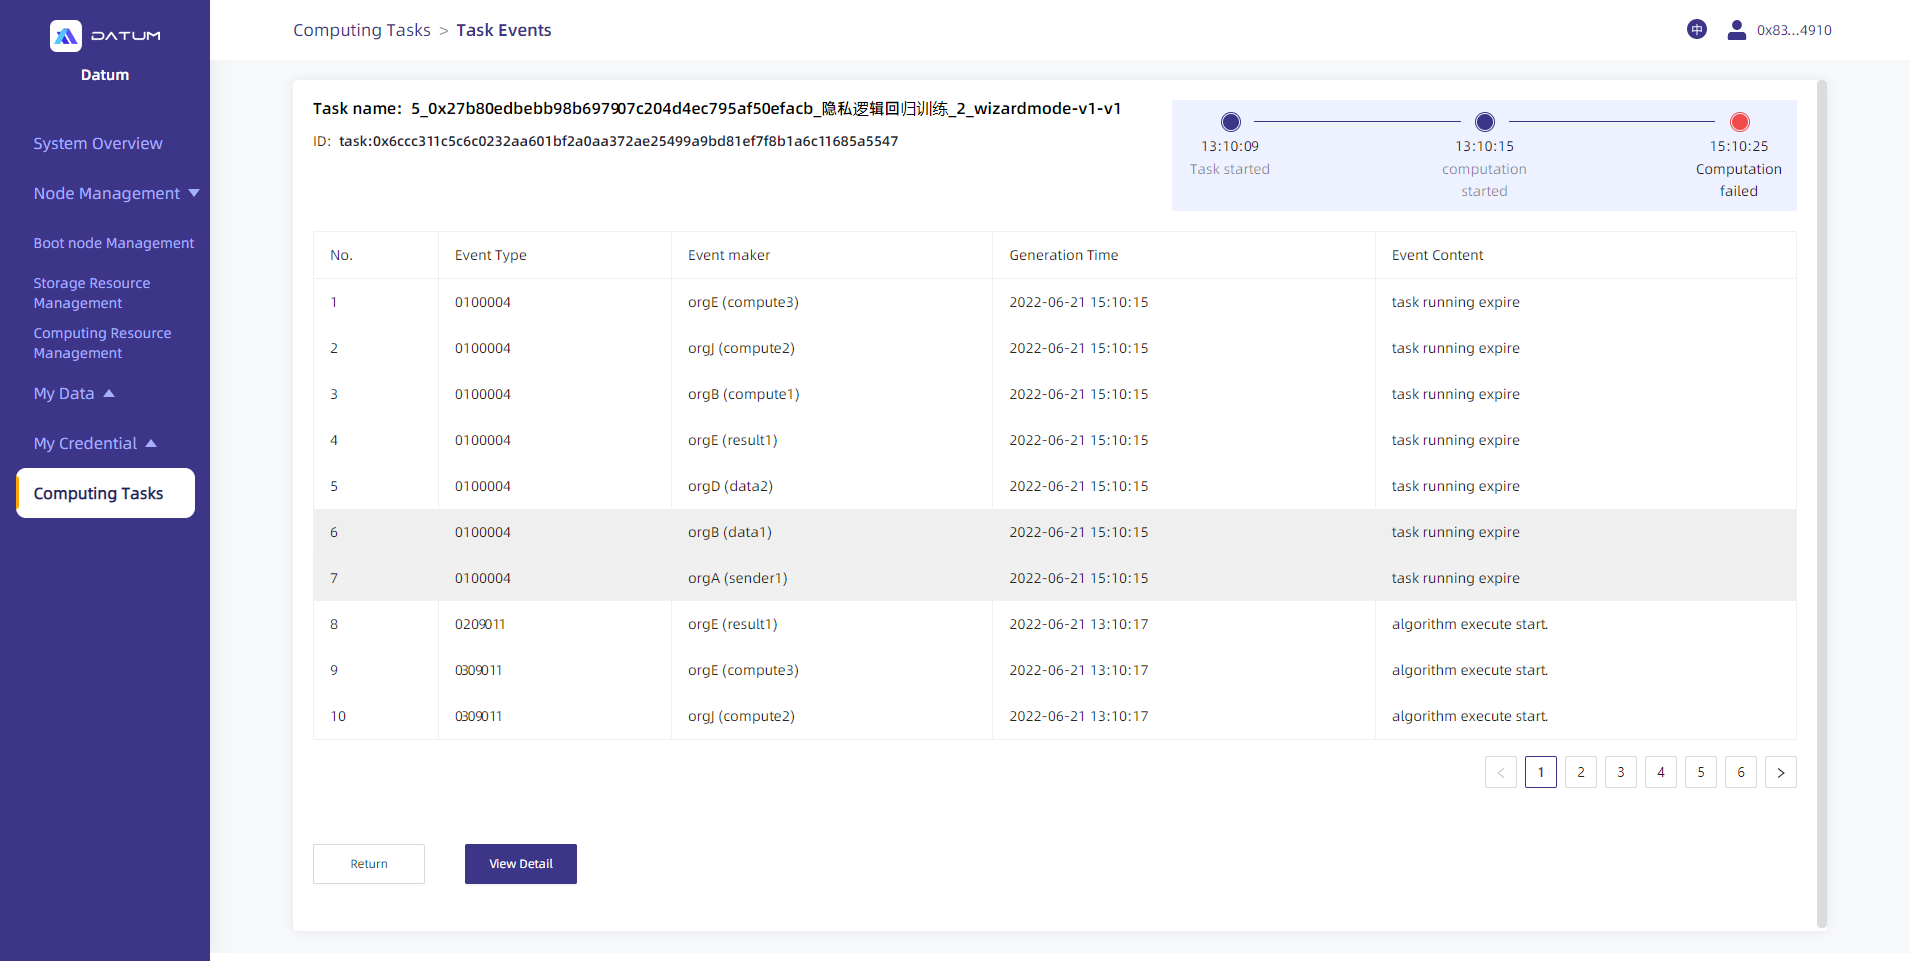
Computing Tasks (available only to admins)
Through “Computing Tasks”, the admin can view the privacy computing tasks performed by the present node.
Admins can click on [Computing Tasks] to check the list of computing tasks and their status.
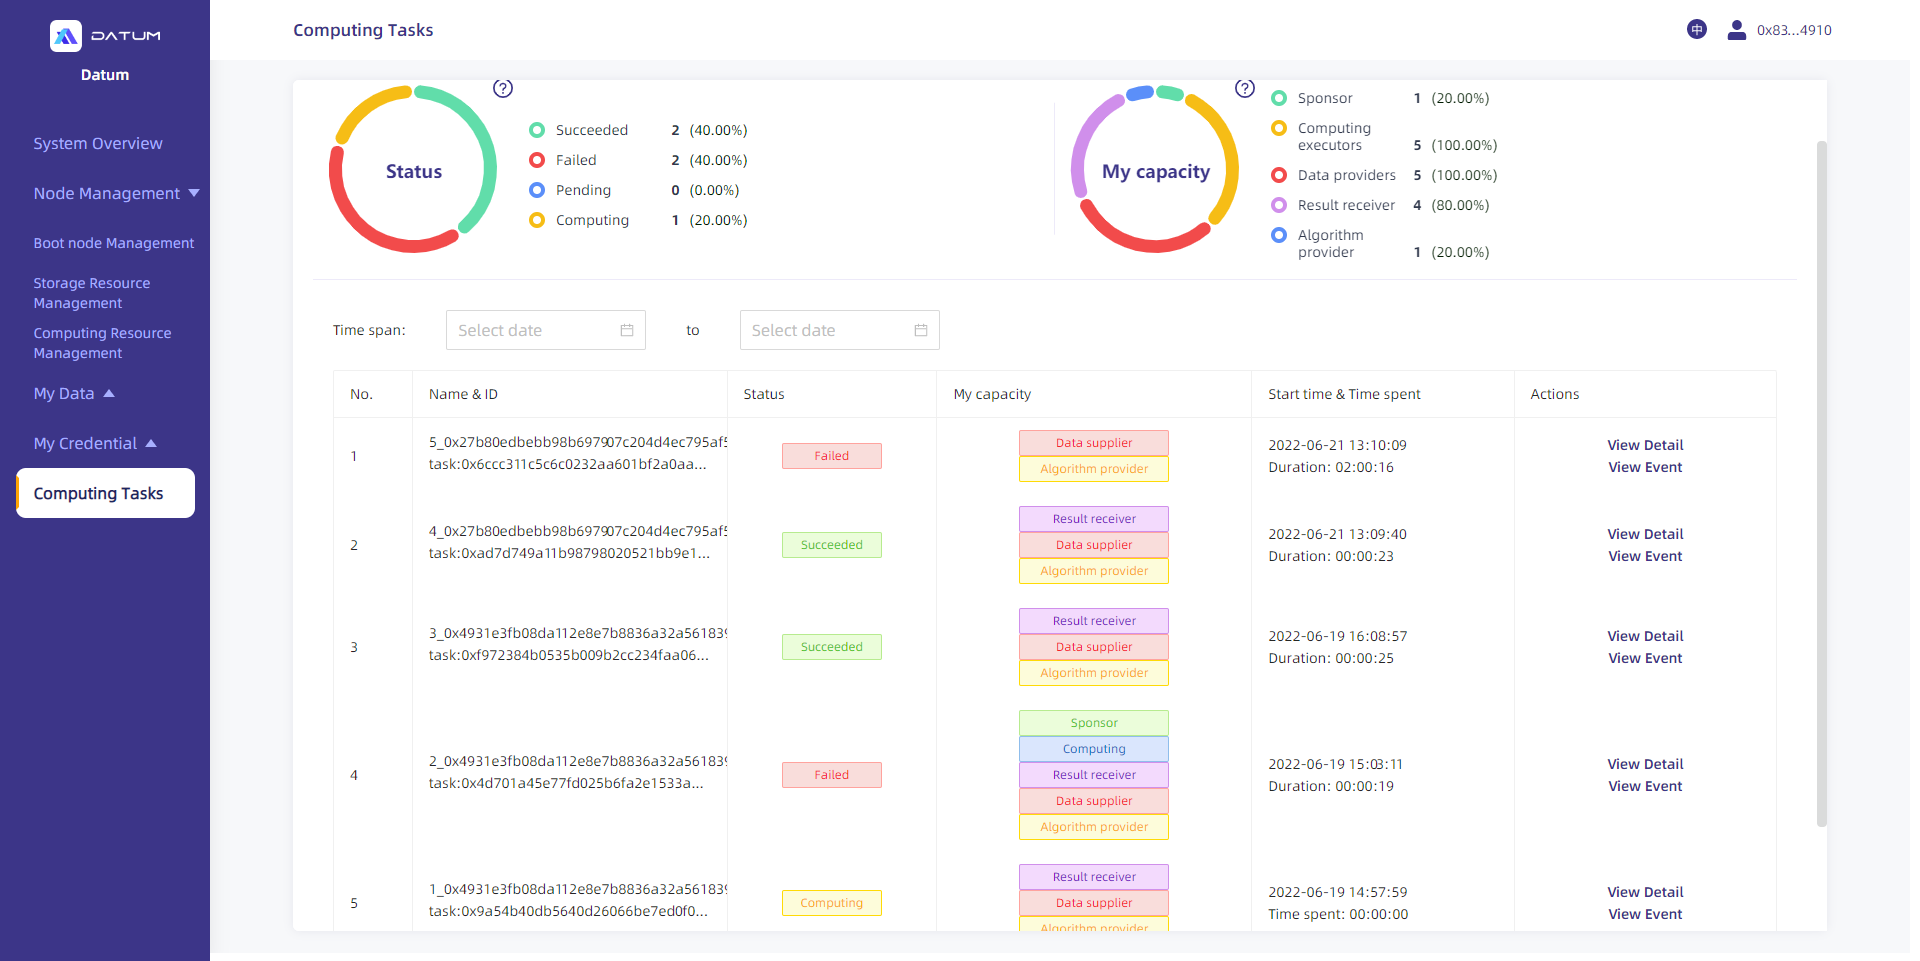
Admins may choose any computing task and click on [View Detail] to go to the Task Details page.

Admins may choose any computing task and click on [View Log] to go to the log page.