目前主流的开发库
由于我更擅长使用 Javascript,因此本次记录就基于 snarkjs 和 circom,这俩相辅相成。
开发环境
- 链下开发
- 系统:Ubuntu1804
- 配置:2C4G40GB
- 软件需求:
- nvm 0.37.2
- Node.js 16.14.1
- snarkjs@0.4.22
- circom@0.5.46
- 链上部署
- Remix
- PlatON DevNet
- 合约地址【方便围观】:0xa91C3BEe1BBdC05AA21E398E8bDe6Cb9CA70007E
开发过程
第一次接触零知识证明,被整的头很大,无数的问号和我做朋友,幸好互联网是极好的帮手。
从这里开始,我默认读者会自己安装 nvm 和 Node.js
- 安装 snarkjs 和 circom
npm install snarkjs
npm install -g circom
这里解释一下,在我安装 snarkjs 和 circom 时,前者没有使用 -g,系统仍然可以继续运行,但后者找不到命令,因此使用 -g,如果都找不到,请都使用 -g 进行安装。
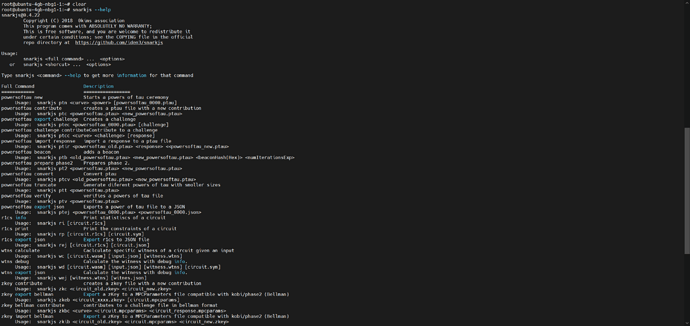
- 查看帮助信息可以随时提供帮助
snarkjs --help
- 创建一个新文件夹,进入之后开始零知识证明的简单尝试
mkdir zkp && cd zkp
以下是根据官方Tutorial & 网络部分中文教程的入门指引【致谢在文末】
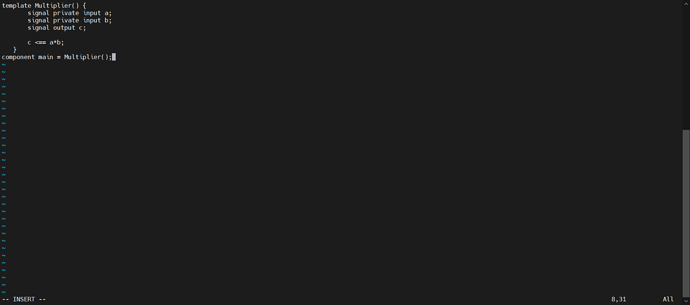
- 1. 先写一个简单的算术电路
vim circuit.circom
template Multiplier() {
       signal private input a;
       signal private input b;
       signal output c;

       c <== a*b;
   }
component main = Multiplier();
【说明】:带下划线表示可以跳转到对应网址
Signals can be named with an identifier or can be stored in arrays and declared using the keyword signal. Signals can be defined as input or output, and are considered intermediate signals otherwise.
可见 signal 接近于 JavaScript 的 var,是一种信号的声明,更像是 Verilog 的 wire,并且它可以使用 private 或者 public 做出私有或公开的修饰。( Verilog 是一种硬件描述语言。)
The mechanism to create generic circuits in Circom is the so-called templates. They are normally parametric on some values that must be instantiated when the template is used.
从这段描述中,显然 circom 的 template 差不多等同于 JavaScript 的 function,当然它也有 function 这个关键字,我们留个坑,如果到后面有需要的话,我们再讲。
In order to start the execution, an initial component has to be given. By default, the name of this component is “main”, and hence the component main needs to be instantiated with some template.
换言之,circom 的 component main 类似 C 语言的 int main()
这个算数电路的目的是,告诉别人我知道有一个数 c 是由 a 和 b 相乘的,但我不会告诉你 a 和 b 分别是什么(但其实这个电路还有点儿瑕疵,因为它并没有约束 1 和其他任意数相乘)。
- 2. 编译算术电路
circom circuit.circom --r1cs --wasm --sym
这条指令携带三种不同的参数:
-
--r1cs:生成circuit.r1cs【这是 r1cs(一阶约束系统)的二进制电路格式】 -
--wasm:生成circuit.wasm【用于后续见证使用】 -
--sym:生成circuit.sym【在带注释模式下调试和打印约束系统所需的符号文档】 -
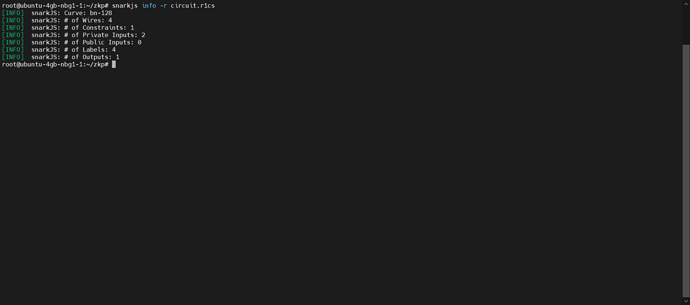
3. 查看 r1cs 电路信息
snarkjs info -r circuit.r1cs
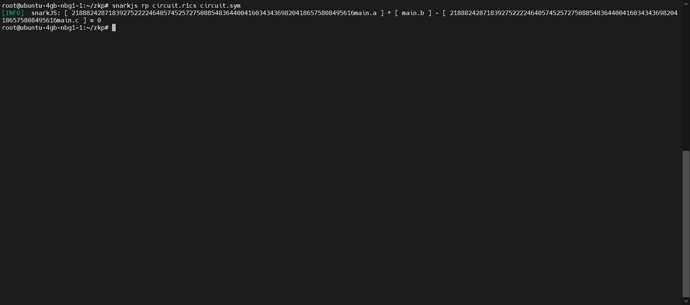
清晰地展示 线路数量、系统约束条件、私有输入数量、输出数量 以及 标签数量。如果觉得还不够的话,可以再看看约束系统的输出信息,做二次确认。
snarkjs rp circuit.r1cs circuit.sym
看起来真酷啊,这么长的一串,其实就想说 a×b-c=0 。
- 4. 使用 snarkjs 进行可信设置
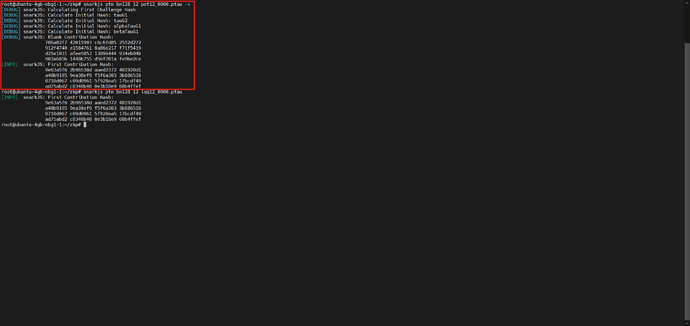
snarkjs ptn bn128 12 pot12_0000.ptau -v
【说明】:
-
ptn:创建一个新的 tau 仪式 -
bn128:使用 bn128 曲线,当然还有其他可以选择 -
12:限制算术电路约束系统的条件不能超过 2^{12} 个。顺带一提,在 circom 中,整个电路的约束参数不能超过 2^{28} 个。 -
pot12_0000.ptau:输出文件 -
-v:我猜测是 view debug 的意思,下图给出了加不加-v的区别
- 5. 执行 contribute
contribute 有三种方案,交互式、非交互式、第三方式:
- 交互式
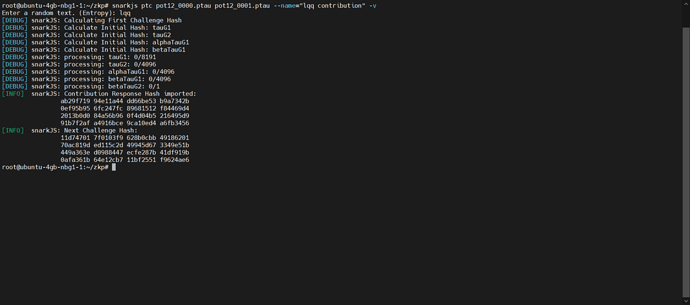
snarkjs ptc pot12_0000.ptau pot12_0001.ptau --name=“lqq contribution” -v
交互式 contribute 会要求用户在终端输入随机文本,我输入 lqq 。
- 非交互式
snarkjs ptc pot12_0001.ptau pot12_0002.ptau --name=“lqq second” -e=“lqq second” -v
因为在 -e 中已经填入随机文本,所以后面就不用交互填写
- 第三方式
这里就不做展示了,等我弄懂,感觉上是通过第三方为 tau 添加随机性挑战。
- 6. tau 验证
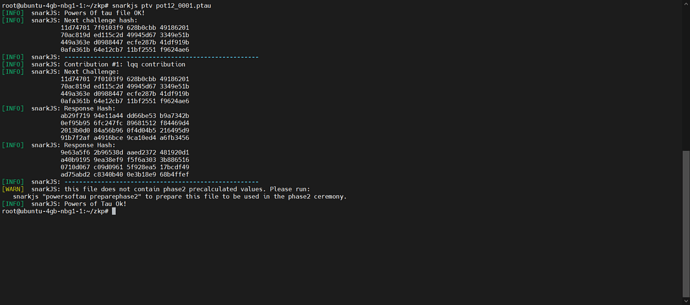
snarkjs ptv pot12_0001.ptau
我直接基于第一次交互式 contribute 做 verify。
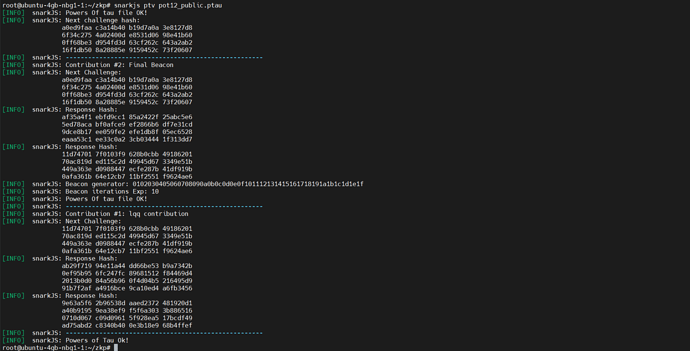
[INFO] snarkJS: Powers Of tau Ok! 表示验证无误
- 7. 引入随机信标
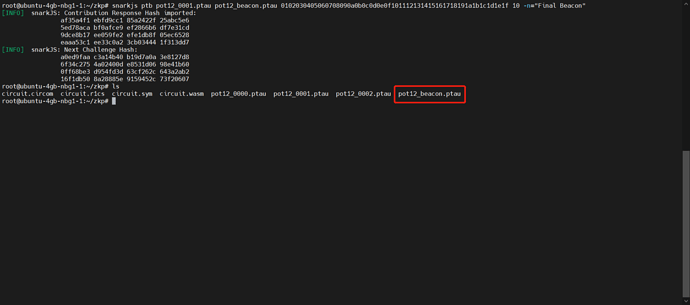
snarkjs ptb pot12_0001.ptau pot12_beacon.ptau 0102030405060708090a0b0c0d0e0f101112131415161718191a1b1c1d1e1f 10 -n=“Final Beacon”
- 8. 生成公开信息
snarkjs pt2 pot12_beacon.ptau pot12_public.ptau -v
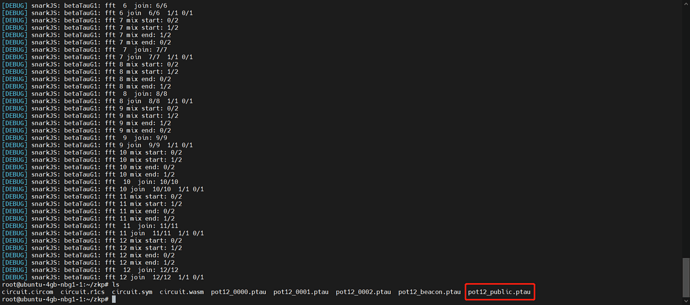
这一步骤要等很久,尽管CPU占用 100% 也没有关系,静静等待它的完成,结束后会生成一个 pot12_public.ptau 文件;pt2 是 powersoftau prepare phase2 的命令。
- 9. 最终再验证一次文件是否齐全了
snarkjs ptv pot12_public.ptau
至此,准备工作都完成了,接着就是回到电路部分。
- 10. 输出电路的 json 格式
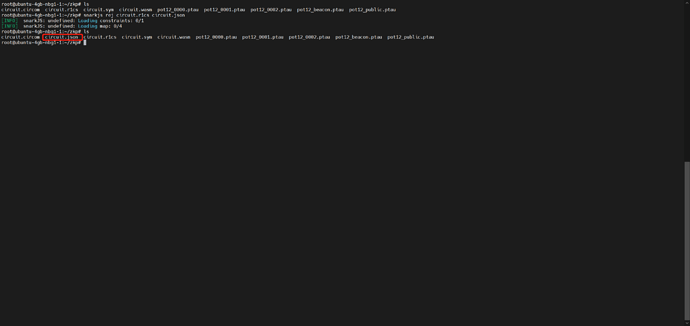
snarkjs rej circuit.r1cs circuit.json
- 11. 配置 GRoth16 算法
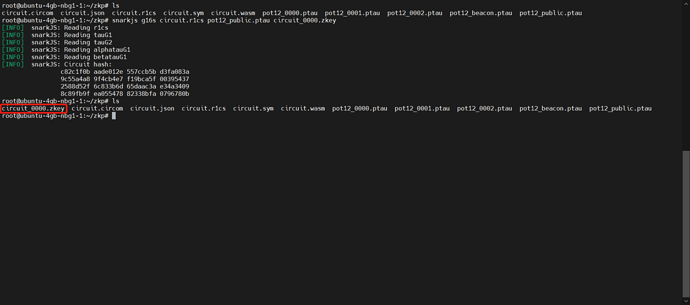
snarkjs g16s circuit.r1cs pot12_public.ptau circuit_0000.zkey
使用新的 contribution 在原有 zkey 基础上创建一个新的 zkey
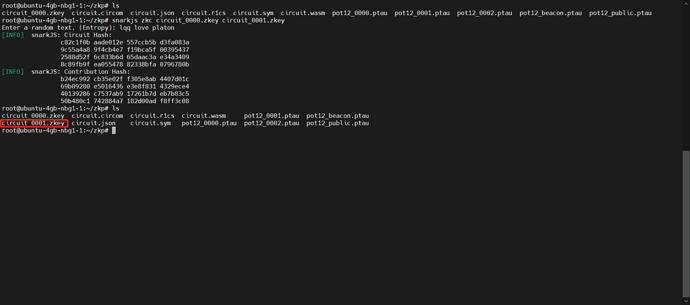
snarkjs zkc circuit_0000.zkey circuit_0001.zkey
此时会要求输入一个随机文本,因为这个是交互式的
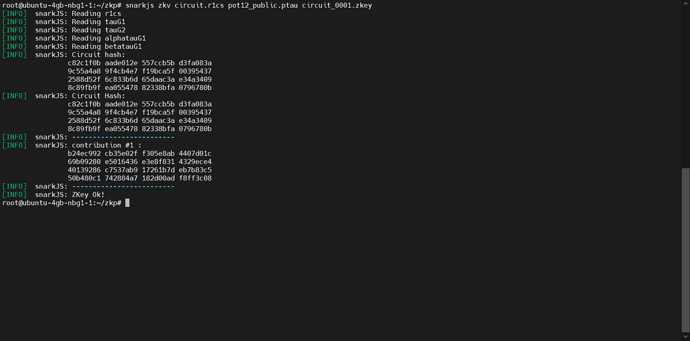
验证原有电路、tau和第一次 contribution 后的 zkey 文件是否匹配
snarkjs zkv circuit.r1cs pot12_public.ptau circuit_0001.zkey
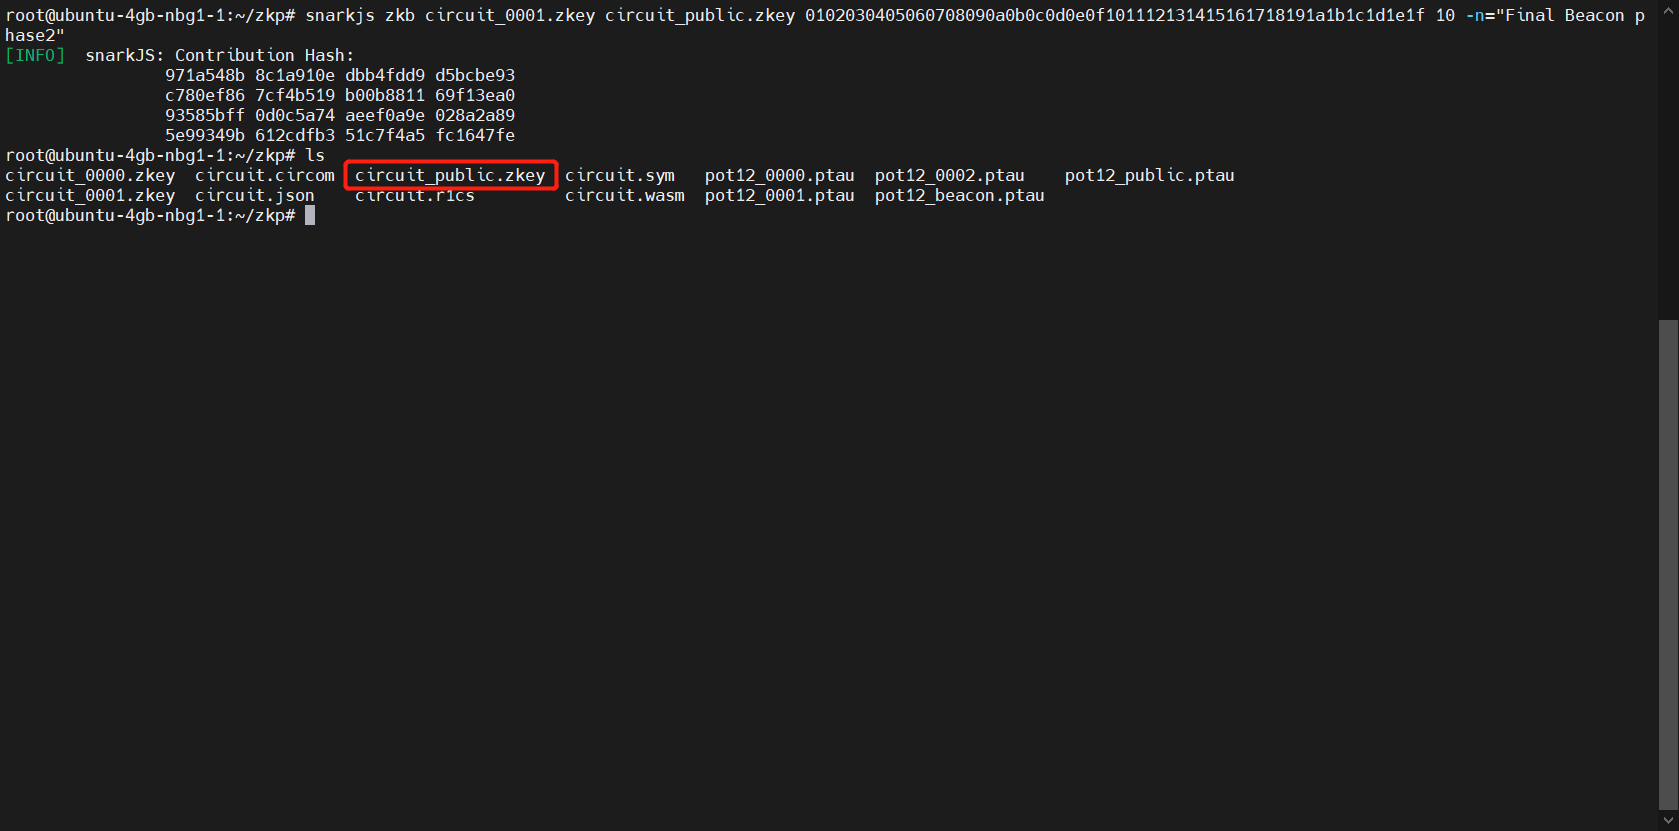
为 zkey 引入随机信标,并且输出最终的 zkey
snarkjs zkb circuit_0001.zkey circuit_public.zkey 0102030405060708090a0b0c0d0e0f101112131415161718191a1b1c1d1e1f 10 -n=“Final Beacon phase2”
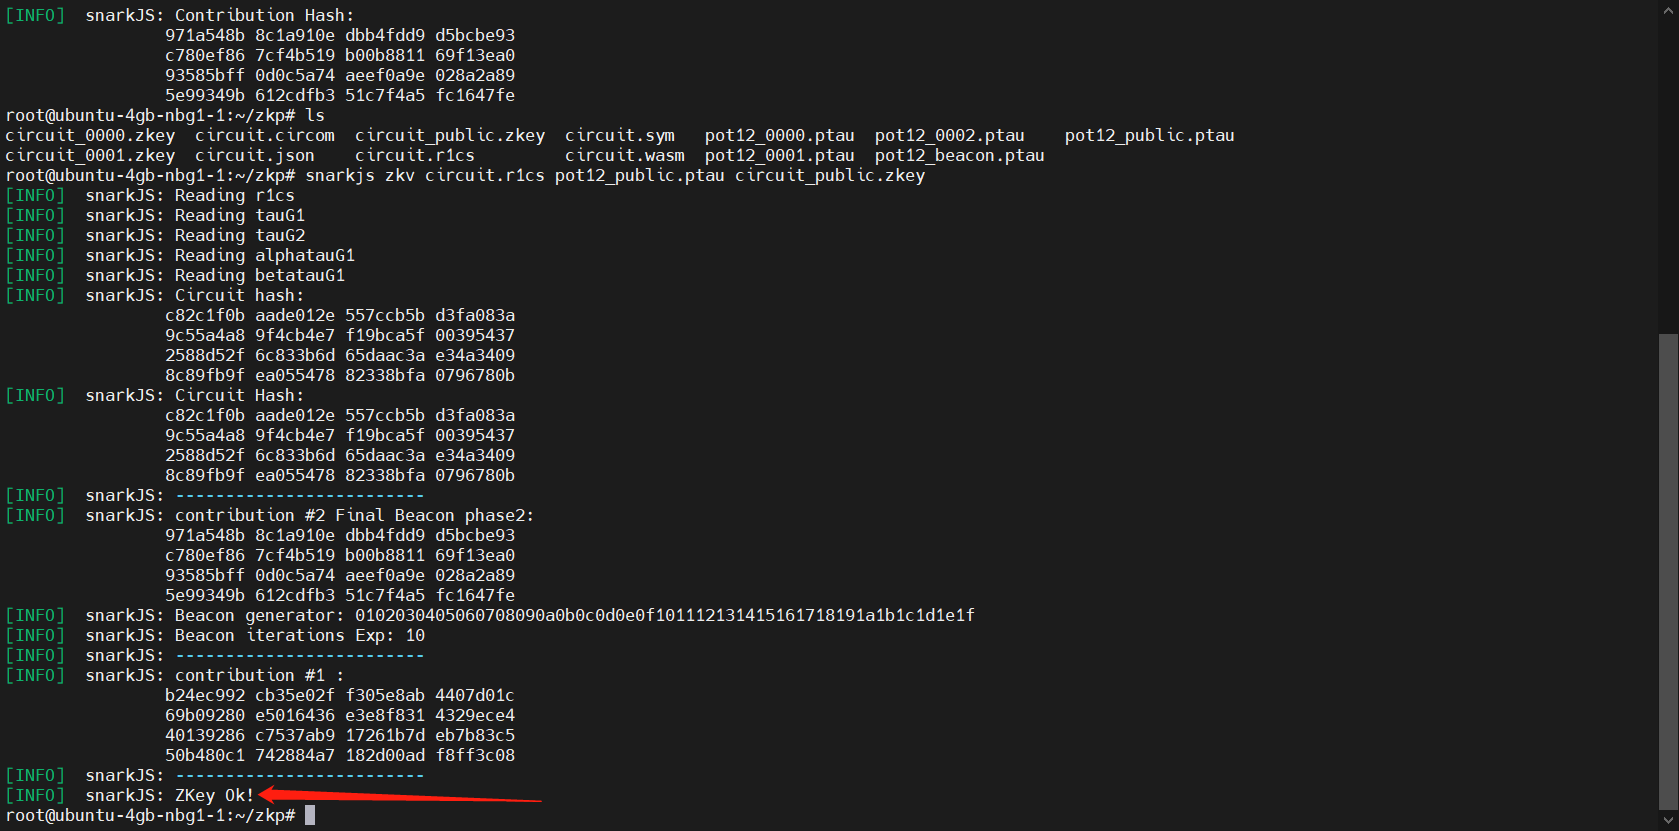
验证原有电路、tau和最终要公开的 zkey 文件是否匹配
snarkjs zkv circuit.r1cs pot12_public.ptau circuit_public.zkey
输出验证密钥
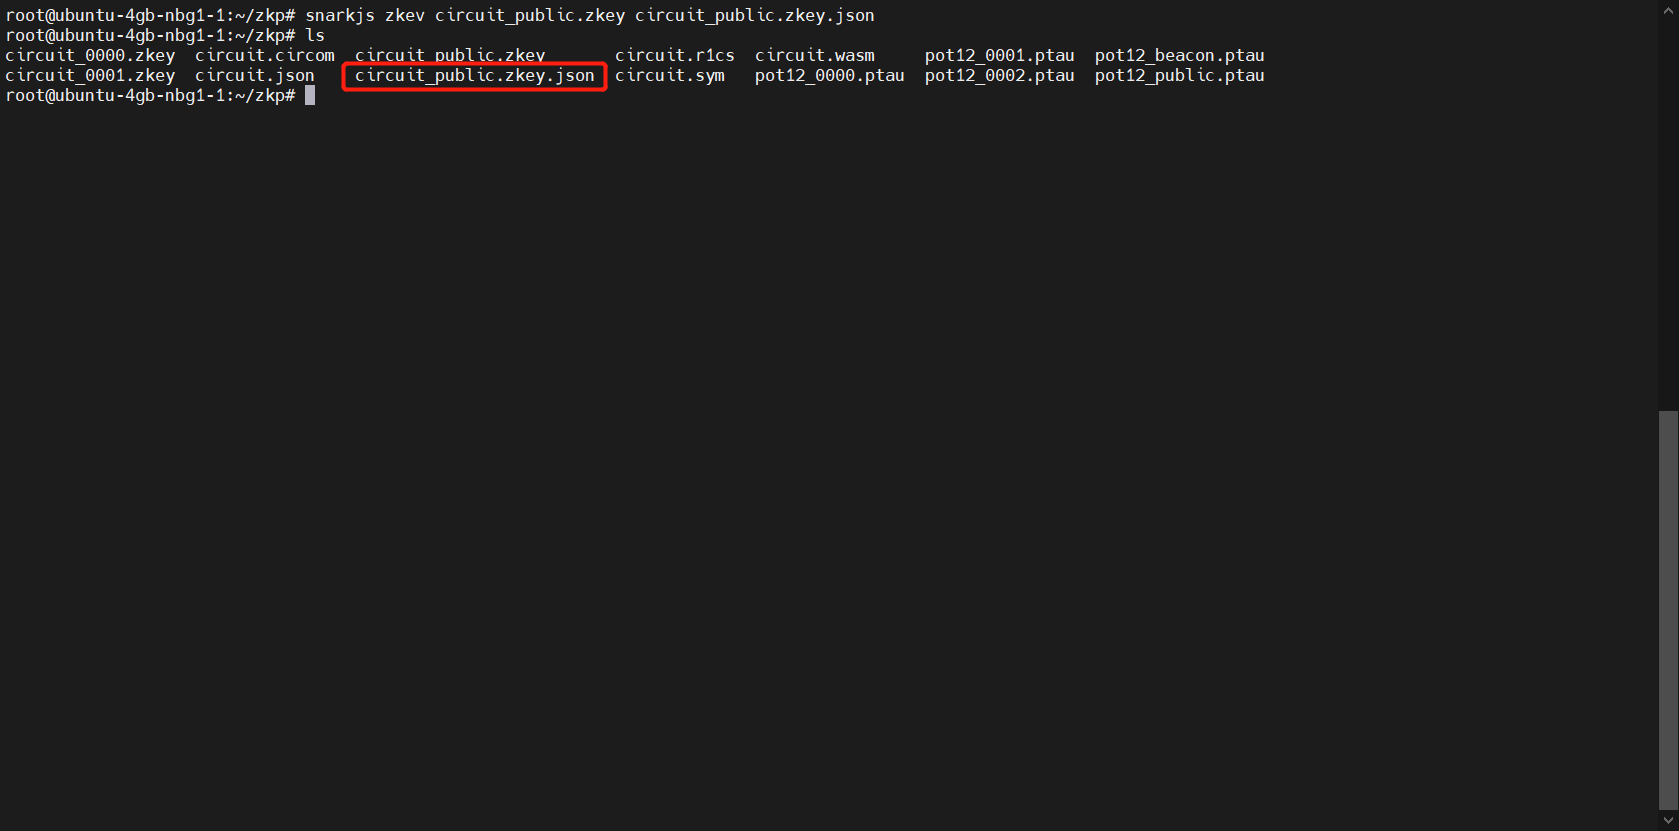
snarkjs zkev circuit_public.zkey circuit_public.zkey.json
-
- 创建 witness 并计算
先创建一份输入文件 input.json
{
    "a": 3,
    "b": 11
}
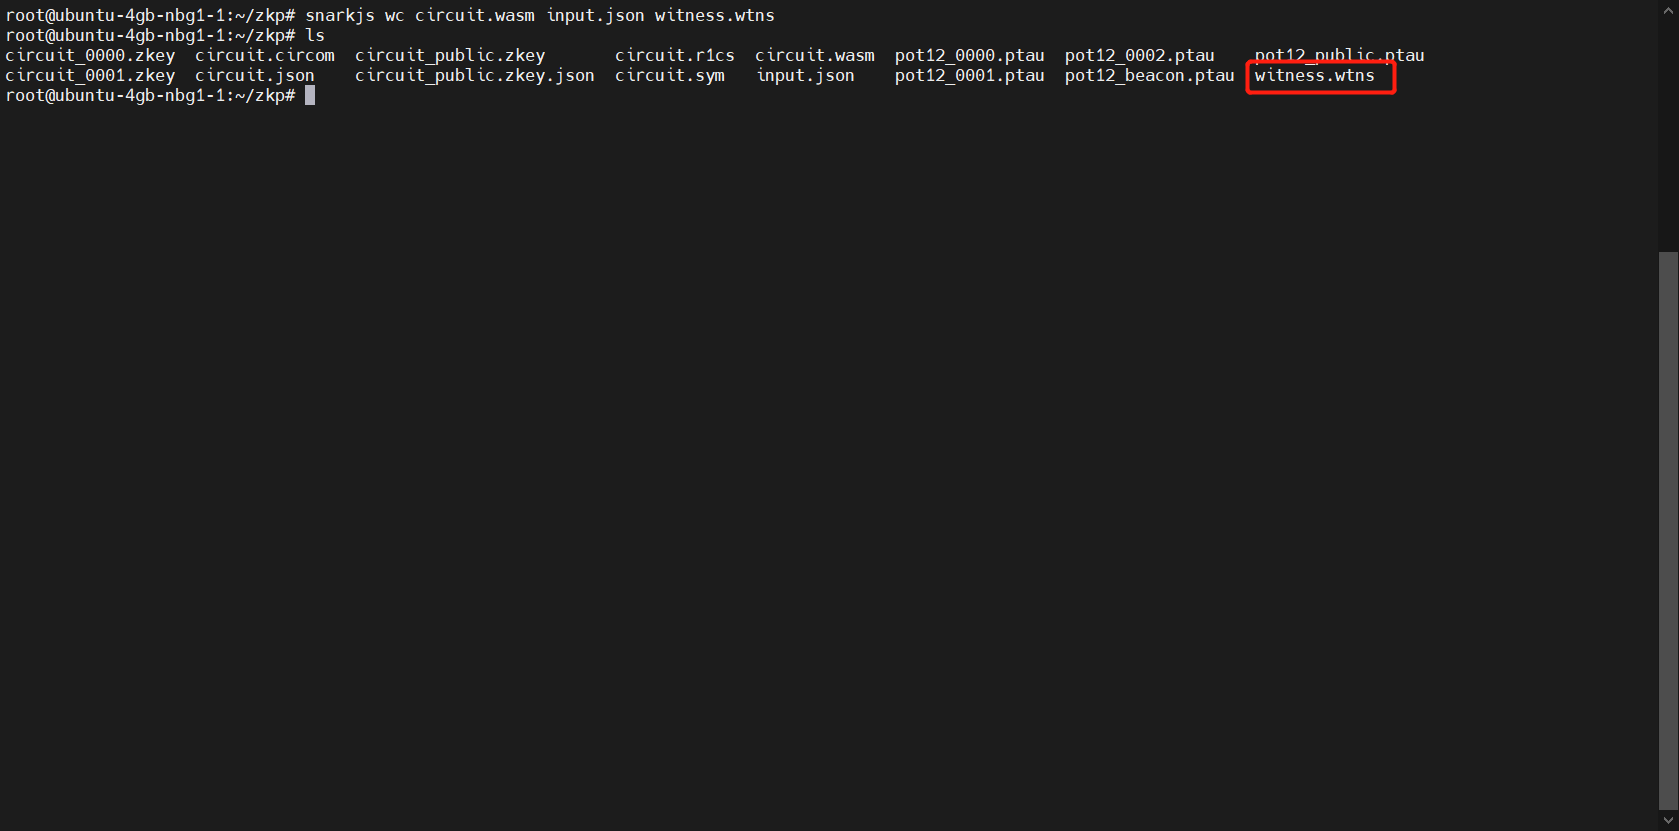
snarkjs wc circuit.wasm input.json witness.wtns
看一眼这个 witness 有没有算错
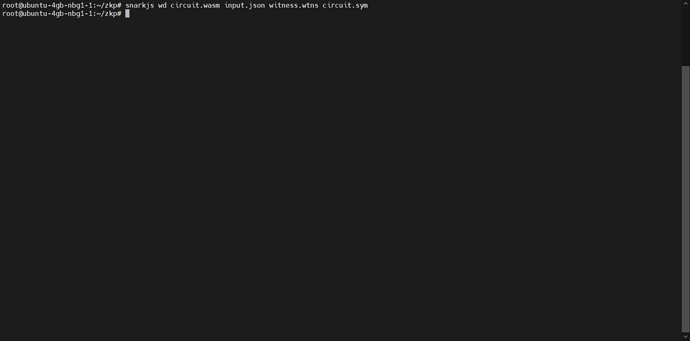
snarkjs wd circuit.wasm input.json witness.wtns circuit.sym
在 Ubuntu 没有输出就是成功了=。=
-
- 生成
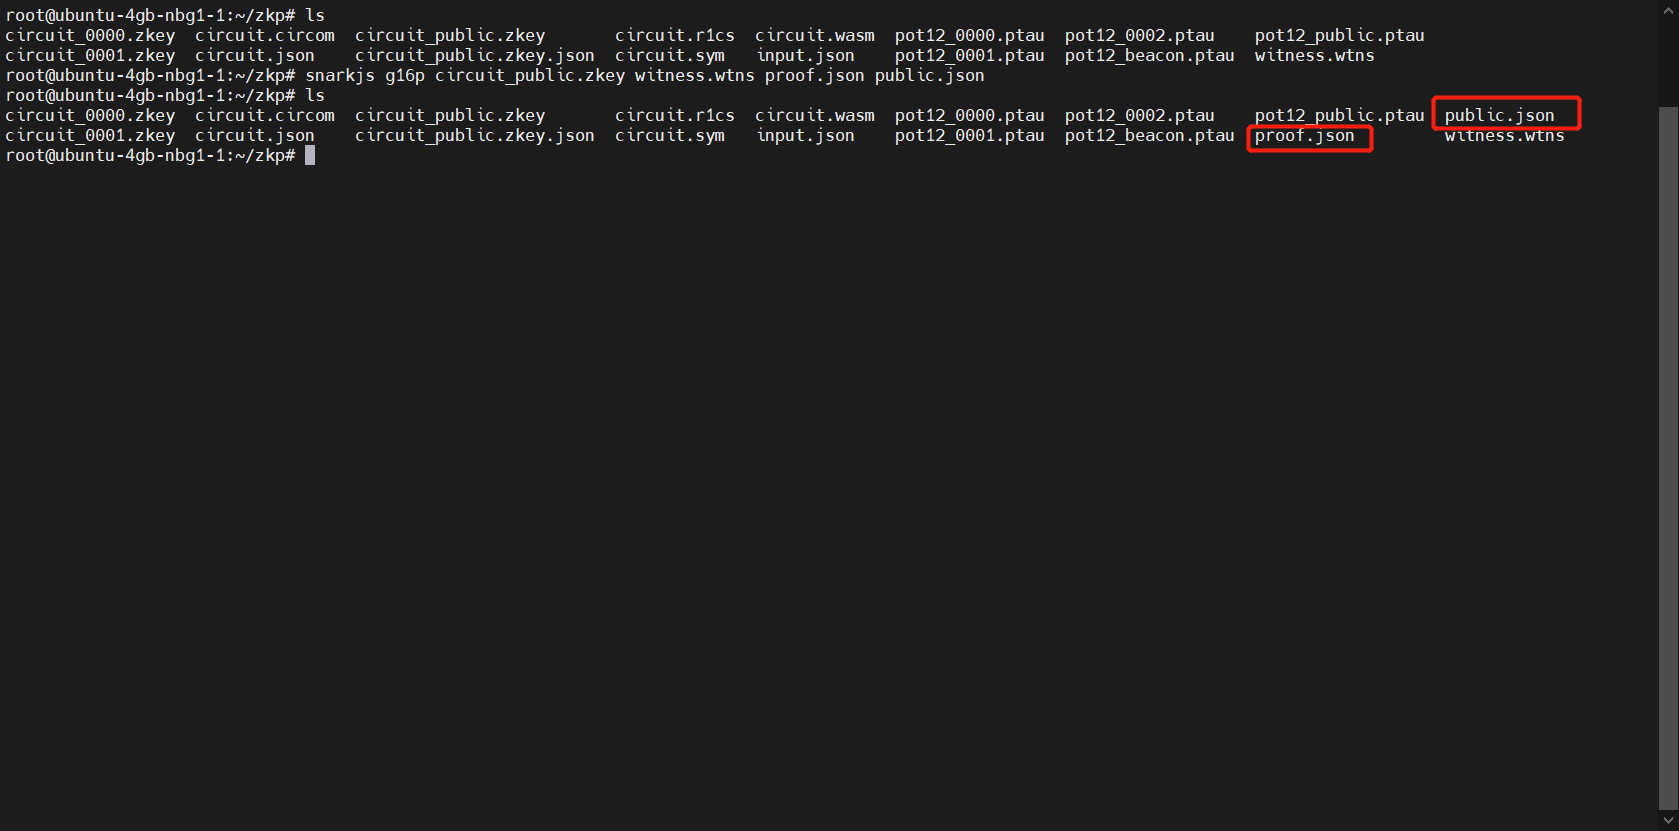
proof.json和public.json
- 生成
snarkjs g16p circuit_public.zkey witness.wtns proof.json public.json
验证一下这俩文件
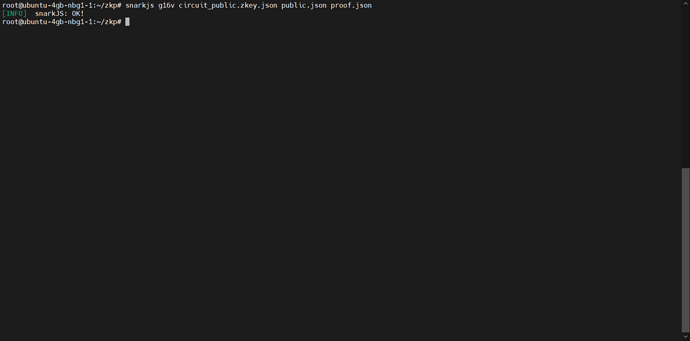
snarkjs g16v circuit_public.zkey.json public.json proof.json
-
- 到这里链下部分都完成了,然后开始链上的部署工作
首先生成验证合约
snarkjs zkesv circuit_public.zkey verifier.sol
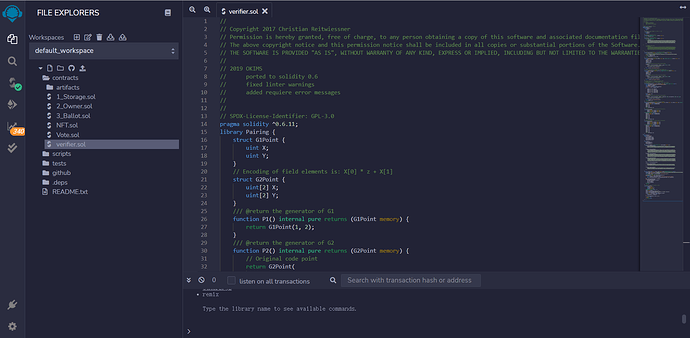
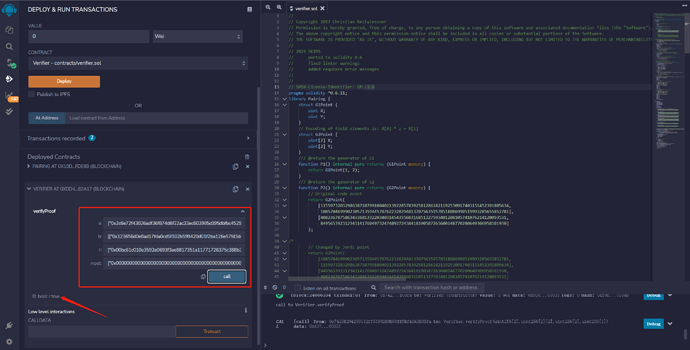
打开 Remix,把上一步的验证合约复制进去
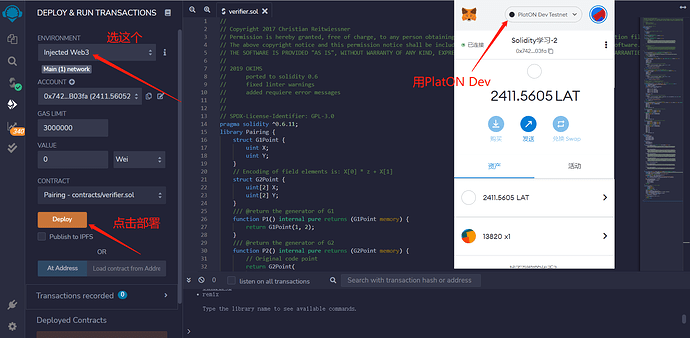
在 CONTRACT 中选择 Verifier - contract/verifier.sol 进行部署
回到开发机器,输出 calldata
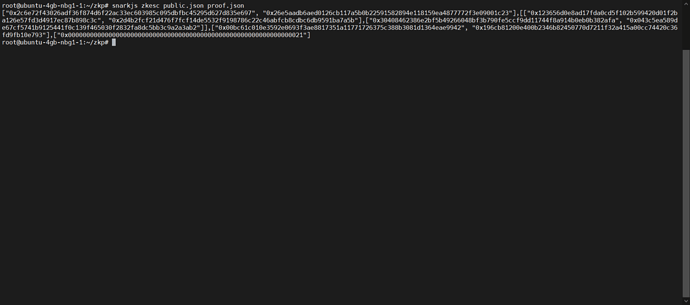
snarkjs zkesc public.json proof.json
挨个复制进去,点一下 call,就完成了链上验证。
到这里基础零知识证明就完成了,后面我做个更难点的零知识应用。
参考文献
- [1] Create your first zero-knowledge snark circuit using circom and snarkjs - Iden3 project blog
- [2] ZK-SNARKS | 创建第一个零知识snark电路_simmel_的博客-CSDN博客

